Learn How to Sew on a Patch: 5 Easy Methods
Patches offer a unique blend of function and flair, transforming ordinary clothing into personalized expressions of style. They’re not just for adding character; patches are also perfect for mending tears and reinforcing wear-prone areas. For those who enjoy crafting as well as experienced DIY enthusiasts, mastering the art of attaching patches is an invaluable skill. In this guide, we delve into the world of patches, exploring the topic of “Learn How to Sew on a Patch: 5 Easy Methods.” Our journey will take us through various methods, each tailored to suit different types of materials and catering to a wide range of skill levels.
What is a patch, and why use it?
A patch, often crafted from materials like fabric, leather, or other textiles, typically takes the shape of a badge or appliqué and is attached to clothing or other fabric items. These patches have a range of uses: they can add decorative flair, represent membership in certain groups or organizations, or serve practical purposes like repairing or concealing wear and tear. Patches are a common feature in various settings, ranging from the official attire of military personnel to trendy elements in daily fashion.
Learn How to Sew on a Patch: 5 Easy Methods
Hand Sewing
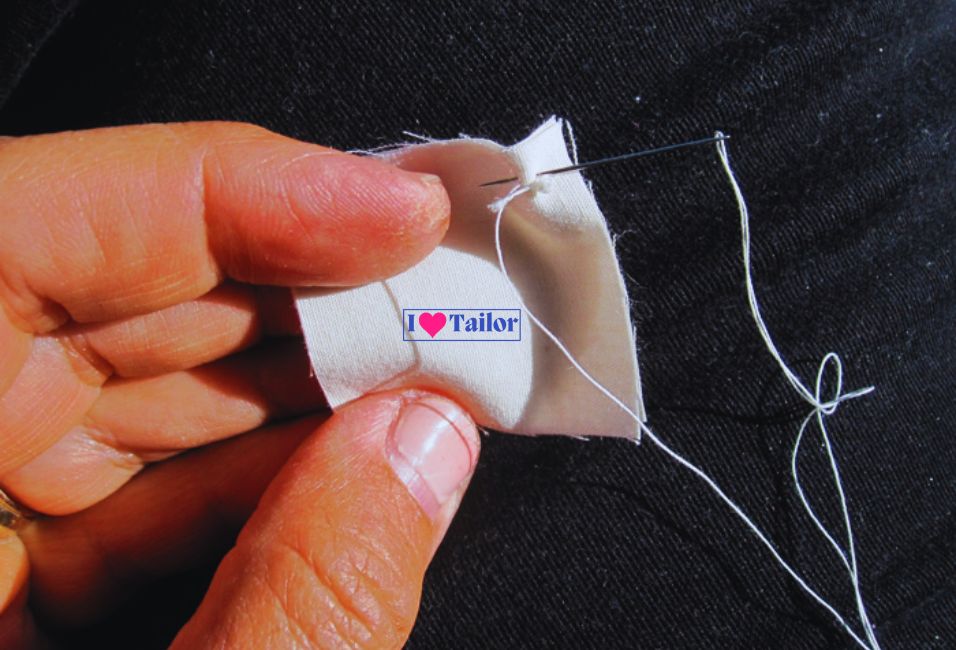
Hand sewing is a classic and precise method for attaching patches, especially useful for delicate fabrics or when a sewing machine is not available.
Steps:
- Materials Preparation: Gather a needle, thread (preferably a color that matches the edge of the patch), scissors, and the patch.
- Positioning the Patch: Place the patch on the desired area of the fabric and pin it securely.
- Threading the Needle: Cut a length of thread (about 18 inches), thread the needle, and tie a knot at the end.
- Starting to Sew: Begin from the underside of the fabric, bringing the needle up through the edge of the patch.
- Stitching the Patch: Use a small, tight stitch such as a whipstitch or a blanket stitch. Keep your stitches close together and even for a secure attachment.
- Finishing off: Once you’ve sewn around the entire patch, tie off the thread on the underside of the fabric to secure it.
Machine Sewing
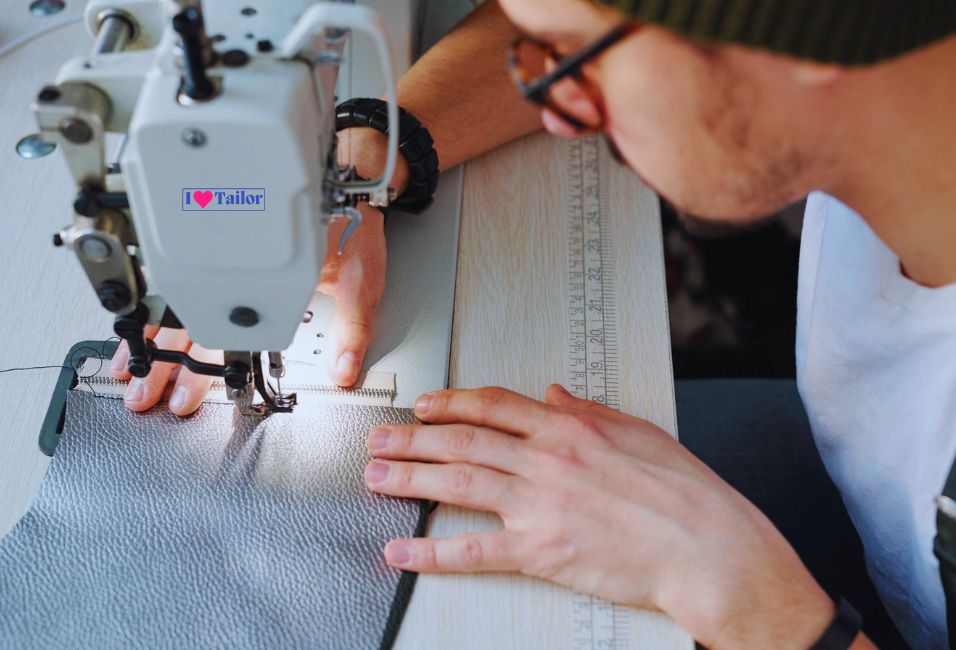
Machine sewing provides a strong and durable attachment, ideal for thicker fabrics and patches.
Steps:
- Machine Setup: Set your sewing machine to a straight or zigzag stitch. Adjust the stitch length and tension according to your fabric’s thickness.
- Positioning the Patch: Pin the patch in place on the fabric, ensuring it’s flat and smooth.
- Starting to sew: Place the fabric under the presser foot of the machine, starting at one edge of the patch.
- Sewing the Patch: Sew around the perimeter of the patch, removing pins as you go. Pivot the fabric at the corners to maintain a neat edge.
- Securing the Stitch: Backstitch at the beginning and end of your sewing to prevent the thread from unraveling.
Iron-On
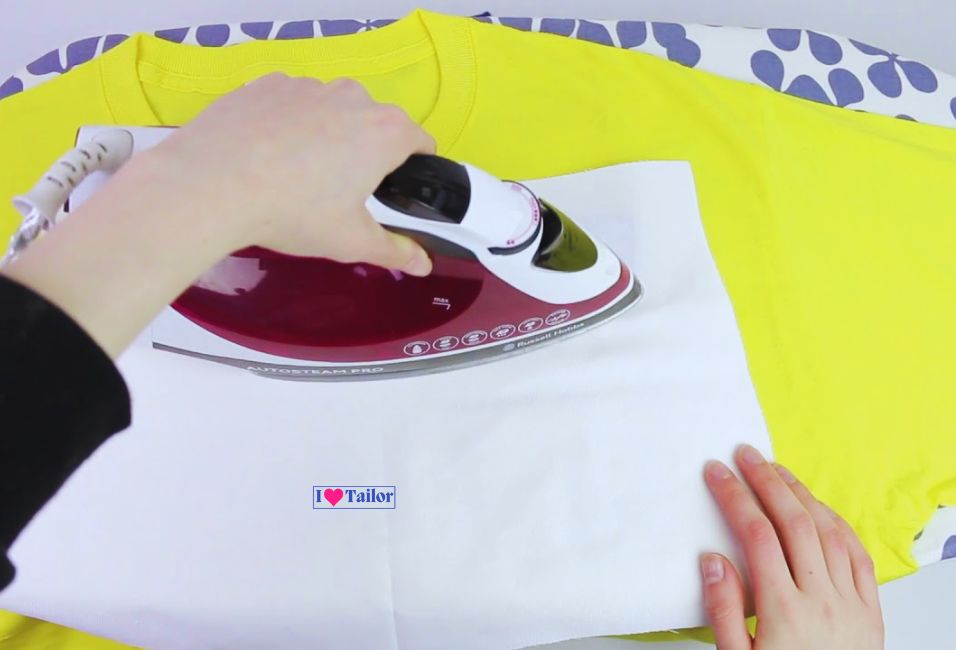
It is a quick and simple method because iron-on patches have a pre-applied adhesive that heat activates.
Steps:
- Iron Preparation: Heat the iron to the recommended setting for your fabric (usually a high setting without steam).
- Positioning the Patch: Place the patch on the fabric with the adhesive side down.
- Ironing the Patch: Cover the patch with a thin cloth or parchment paper, then press the iron onto the patch for 15–30 seconds.
- Cooling: Remove the iron and allow the patch and fabric to cool. Check the edges to ensure they are fully adhered.
Fabric Glue
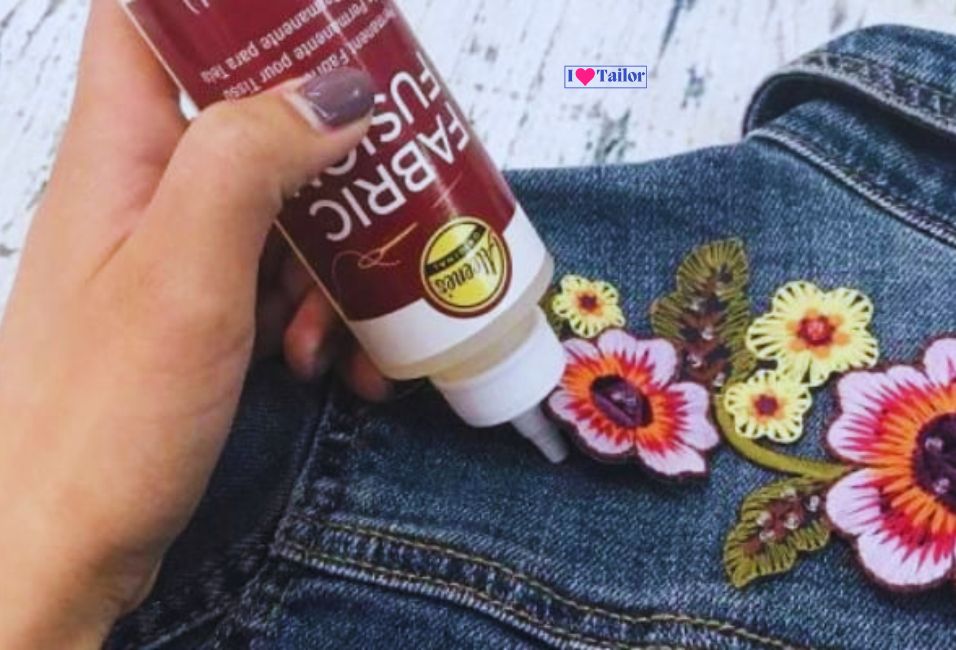
Fabric glue is a convenient option for attaching patches without sewing, suitable for temporary or permanent applications.
Steps:
- Choosing the Right Glue: Select a fabric glue that is appropriate for the weight and type of fabric and patch.
- Applying the glue: Apply a thin layer of glue to the back of the patch.
- Placing the Patch: Position the patch on the fabric and press firmly. Wipe away any excess glue.
- Drying: Allow the glue to dry completely, following the manufacturer’s recommended drying time.
Badge Magic
Badge Magic is a specialized adhesive method offering a no-sew, secure attachment for patches.
Steps:
- Preparing the Adhesive: Cut the Badge Magic adhesive sheet to match the size and shape of your patch.
- Attaching the Adhesive: Peel off the backing and press the adhesive onto the back of the patch.
- Applying the Patch: Remove the other side of the adhesive backing and press the patch firmly onto the fabric.
- Setting the Patch: Apply pressure to the patch for a few minutes and allow it to set as per the instructions.
Also read: What are the most dangerous sewing tools?
What stitch is best for a patch?
The type of stitch you select for affixing a patch plays a crucial role in determining both its visual appeal and longevity. Selecting the ideal stitch for a patch is contingent on various elements, such as the fabric’s nature, the intended use of the patch, and your proficiency in sewing. Let’s delve into these stitching techniques and explore their unique benefits.
Straight Stitch
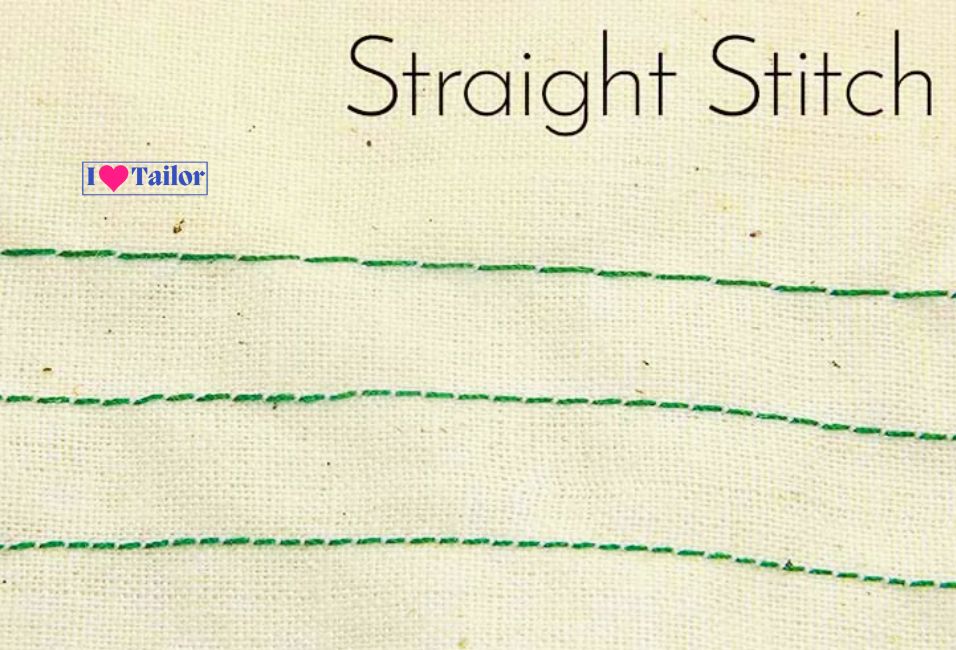
The straight stitch is the most basic and universally used stitch in sewing. It’s simple, straightforward, and can be done either by hand or with a sewing machine.
Benefits:
- Versatility: Works well on most fabrics and patch types.
- Strength: Provides a stronghold, especially when sewn in multiple rows.
- Ease of Use: Easy for beginners and can be quickly executed with a sewing machine.
Zigzag Stitch
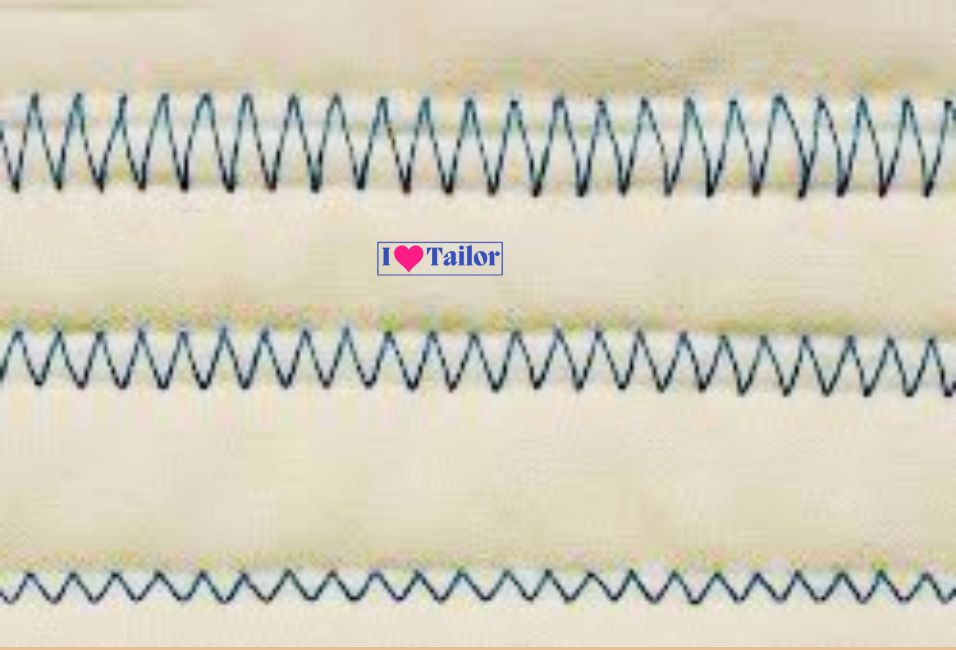
The zigzag stitch is particularly effective for attaching patches because it allows for stretch and flexibility, making it ideal for fabrics that are subject to movement or stretching.
Benefits:
- Flexibility: It helps prevent fraying and allows the fabric to stretch without breaking the thread.
- Durability: Offers a stronghold that withstands wear and tear.
- Aesthetic Appeal: Adds a decorative touch to the edge of the patch.
Whipstitch
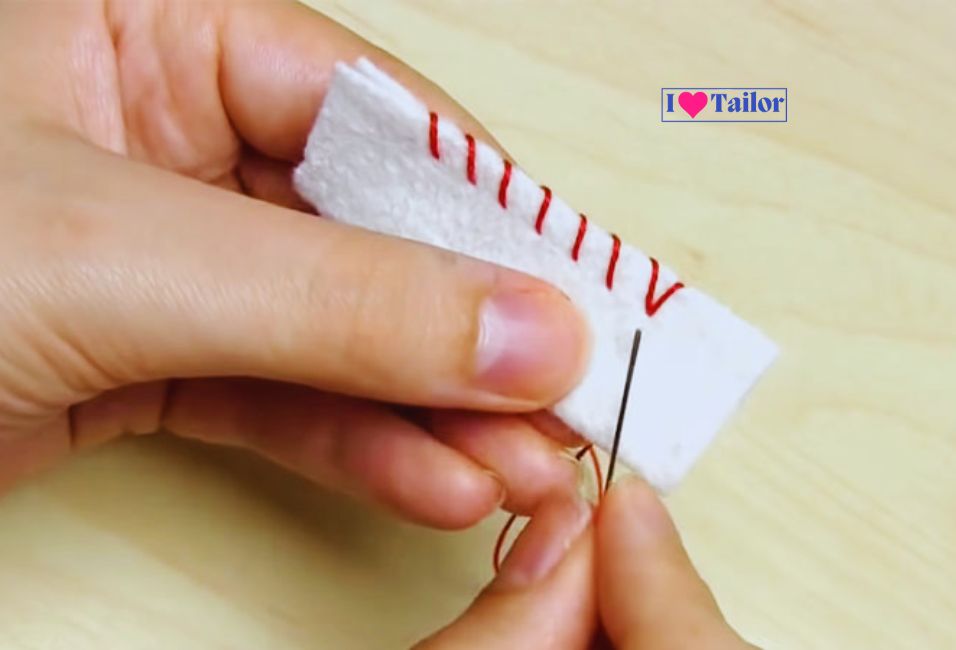
Whipstitch is a hand sewing technique where the needle is passed over the fabric edge and through the patch in a series of diagonal stitches. It’s ideal for patches on materials that cannot be sewn with a machine.
Benefits:
- Control: Offers precise control over stitch placement, useful for delicate or intricate patches.
- Invisibility: The patch can be made nearly invisible if the thread color closely matches the patch.
- Suitable for Thick Fabrics: Effective for attaching patches to thicker materials where a sewing machine might struggle.
Blanket Stitch
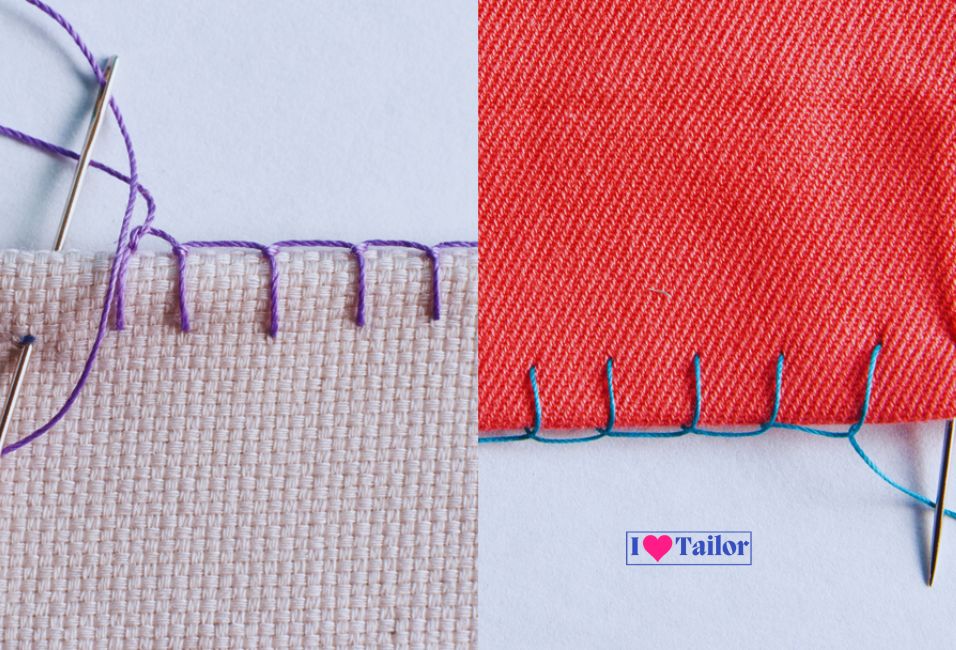
The blanket stitch, often used for hemming edges, is also excellent for patches. It involves looping the thread around the edge of the fabric and the patch, creating a series of uniform, perpendicular stitches.
Benefits:
- Decorative Finish: Provides a neat and decorative edge.
- Strength: Offers a robust and durable hold, ideal for patches on frequently used items.
- Versatility: Works well on both thick and thin fabrics.
Satin Stitch
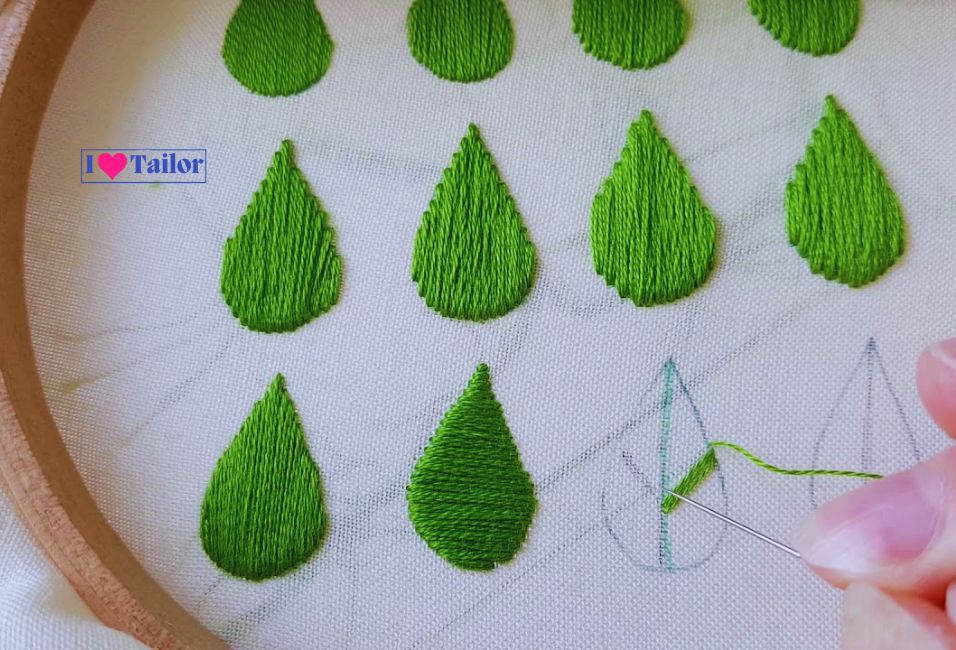
Satin stitch, primarily a decorative stitch, involves tightly spaced straight stitches that completely cover the original fabric. It’s used for more decorative patches and requires a bit more skill.
Benefits:
- Aesthetic Quality: Gives a smooth, professional, and decorative finish.
- Customization: Allows for creative expression through varied thickness and color.
- Secure Edge: Encloses the edges of the patch, preventing fraying.
How Do You Attach a Patch Without Sewing?
Attaching a patch without sewing can be a quick and simple way to customize your clothing or accessories. There are several methods to do this, each with its own benefits. Let’s delve into these non-sewing techniques:
Adhesive Sheets
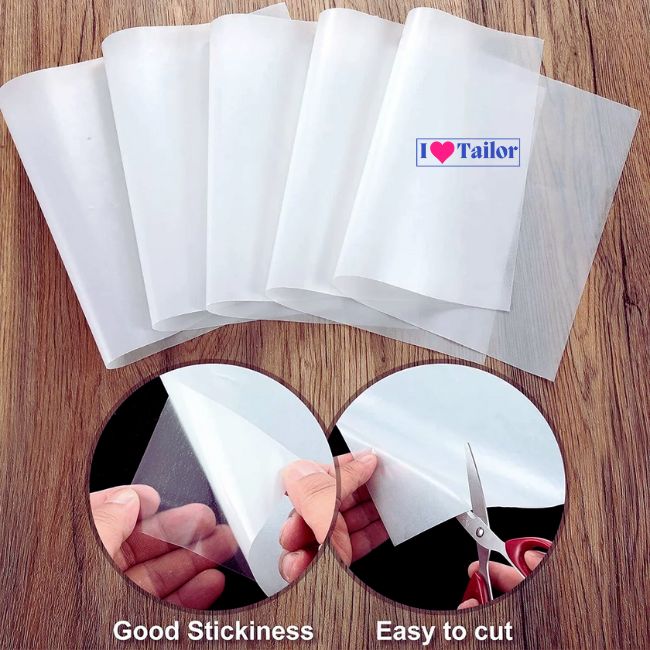
Adhesive sheets, like double-sided fusible web, offer a quick and effective way to attach patches.
Steps:
- Cut the Adhesive: Trim the adhesive sheet to the size and shape of your patch.
- Iron the First Side: Place the adhesive sheet against the back of the patch and iron it on a low setting until it adheres.
- Peel and Stick: Peel off the backing, position the patch on your fabric, and then iron again to bond it to the fabric.
- Final Pressing: Use a pressing cloth and apply firm pressure with the iron for a few seconds to ensure a strong bond.
Fabric Tape
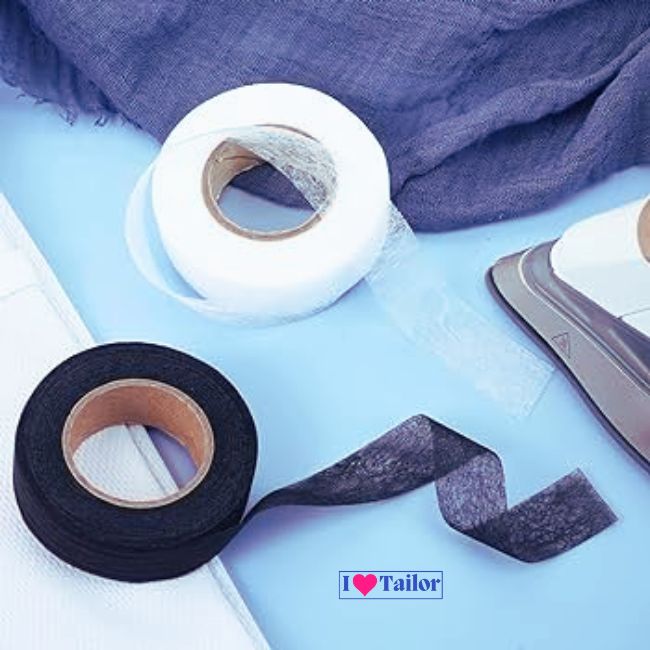
Fabric tape is an excellent option for a temporary fix or for fabrics that cannot withstand heat.
Steps:
- Cut the tape. Use fabric tape that is slightly smaller than the patch.
- Apply the tape: Stick the tape to the back of the patch, covering it entirely.
- Position and Press: Remove the backing from the tape, place the patch on the fabric, and press firmly.
Velcro
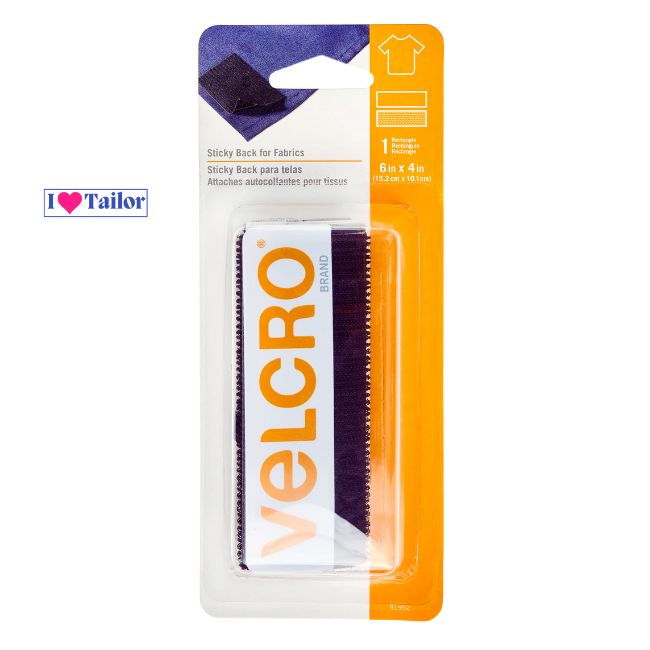
Using Velcro is ideal for patches that you want to remove or switch out frequently.
Steps:
- Cut the Velcro: Cut a piece of Velcro the same size as your patch.
- Attach Velcro to the Patch: Stick the hook side of the Velcro to the back of the patch.
- Attach Velcro to the Fabric: Sew or stick the loop side of the Velcro to your garment.
- Attach the Patch: Press the patch onto the garment where the Velcro has been placed.
Safety Pins
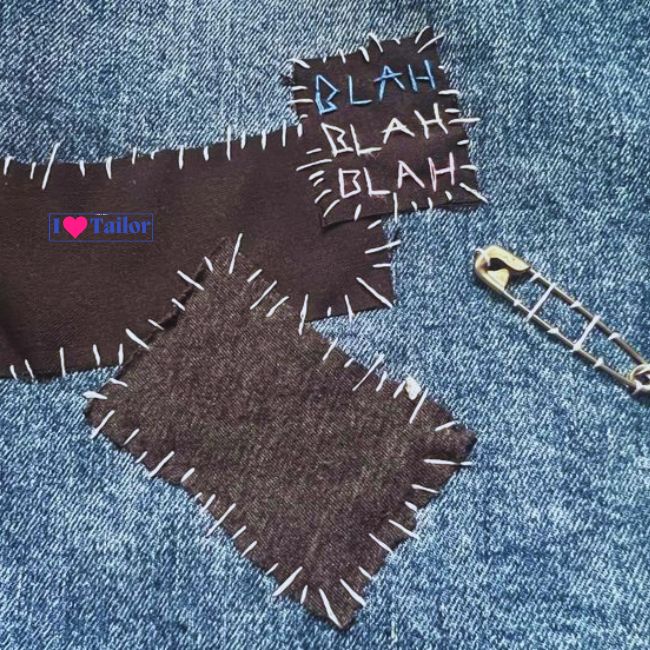
Safety pins can be used for the easy, temporary attachment of patches.
Steps:
- Position the Patch: Place the patch in the desired location.
- Pin the Patch: Secure the patch to the fabric with safety pins, spacing them evenly around the edges.
FAQs
What Are the Best Fabrics for Sewing Patches?
Patches can be sewn onto a variety of fabrics, but the best choices are durable, non-stretchy materials like denim, cotton, and canvas. Delicate fabrics may require special handling or adhesive methods.
Can Patches Be Easily Removed Once Sewn?
Removing a sewn patch depends on the method used. Hand-sewn and machine-sewn patches can be carefully unpicked with a seam ripper, but adhesive methods like iron-on or fabric glue might leave residue or damage the fabric upon removal.
Are There Waterproof Options for Attaching Patches?
Yes, for waterproof applications, consider using waterproof fabric glue or a waterproof iron-on adhesive. Ensure that both the patch and the fabric can withstand such conditions.
How Do I Prevent a Patch from Fraying?
To prevent fraying, use a tight stitch, such as a zigzag stitch, around the edges of the patch. For adhesive methods, ensure the entire edge of the patch is firmly secured to the fabric.
Conclusion
Each method in “Learn How to Sew on a Patch: 5 Easy Methods” offers its own unique advantages, catering to different needs and skill levels. Whether you opt for the traditional hand sewing technique, the efficiency of machine sewing, the convenience of iron-on, the simplicity of fabric glue, or the precision of Badge Magic, you can achieve excellent results. Happy patching!