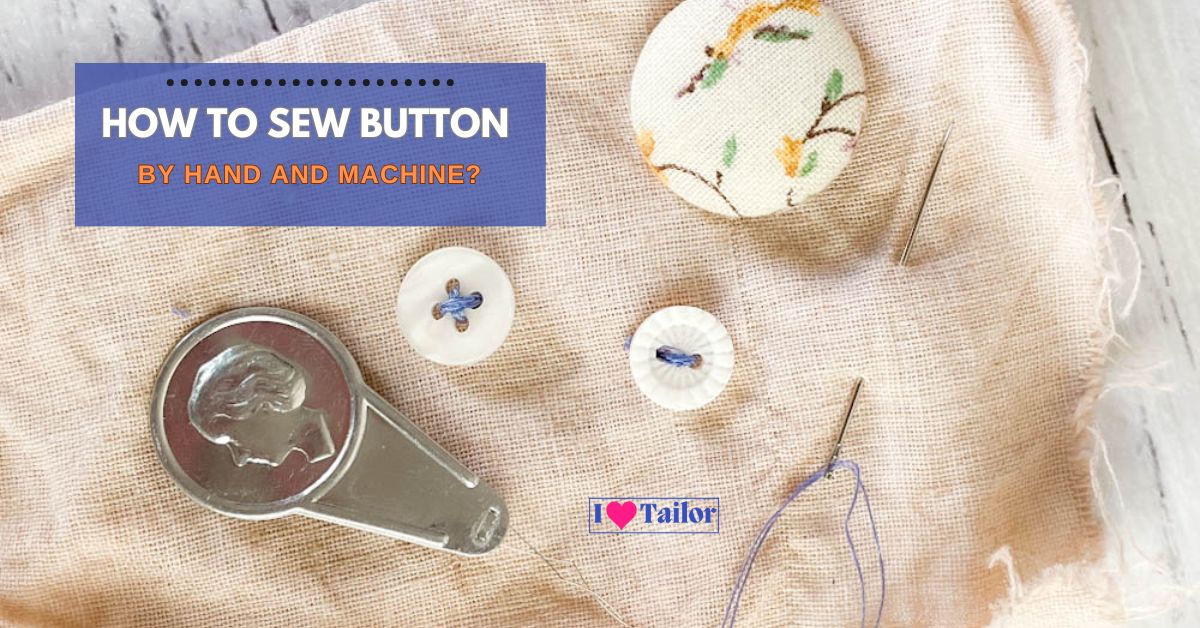
How to sew buttons by hand and machines: A step-by-step guide
Sewing buttons is an essential skill that spans generations, offering both a practical solution for garment repair and an opportunity for creative expression. In this detailed article, we will explore ”how to sew buttons by hand and machines: a step-by-step guide”, ensuring that even beginners can master this skill with ease. Whether you are fixing a loose button on a favorite shirt or adding unique touches to your garments, understanding both hand-sewing and machine-sewing techniques is invaluable.
The difference between sewing buttons by hand and by machine
Hand sewing vs. machine sewing buttons:
- Precision and control: hand sewing offers unparalleled precision and control, making it ideal for delicate fabrics or detailed designs. However, it requires more time and patience.
- Speed and efficiency: machine sewing buttons are significantly faster and more consistent, which is perfect for bulk or repetitive tasks. But it might not suit intricate or fragile materials.
- Skill and accessibility: sewing by hand requires minimal tools and is easily accessible to beginners. In contrast, machine sewing requires some basic knowledge of operating a sewing machine.
Which is better? The choice depends on your needs. For quick repairs and uniformity, a machine is ideal. For delicate, intricate work, hand sewing is preferable.
How to sew buttons by hand and machines: A step-by-step guide
- By hand
- By machine
How to Sew Buttons by Hand: A Step-by-Step Guide
Sewing buttons by hand is a valuable skill that’s both easy to learn and immensely useful. Whether you’re looking to repair a garment, add a personal touch to your wardrobe, or simply enjoy the satisfaction of a DIY project, Here’s a step-by-step guide written in simple, easy-to-understand language.
Step 1: Gather Your Materials

Before you begin, make sure you have the following items:
- Button: Choose a button that matches your garment in size and style.
- Thread: Select a thread color that closely matches your fabric. Polyester thread is a good choice for its strength and durability.
- Needle: A medium-sized sewing needle works well for most buttons.
- Scissors: To cut the thread.
- Fabric or Garment: The item you are sewing the button onto.
- Thimble (optional): This can protect your finger when pushing the needle through the tough fabric.
Step 2: Thread the needle

Cut a length of thread about 18–24 inches long. This length is sufficient for most buttons without being too unwieldy. Thread your needle and tie a knot at the end of the thread.
Step 3: Position the button

Identify where you want to attach the button to your fabric. If you’re replacing a button, you can use the existing holes as a guide. For new placements, ensure the button aligns correctly with the buttonhole or desired position.
Step 4: Start Sewing

Insert the needle from the underside of the fabric so that the knot is hidden. Bring it up through one of the buttonholes. If your button has four holes, you can choose to sew in a cross pattern (X) or a square pattern (||).
Step 5: Finish the stitch
Once the button is securely sewn, push the needle to the back of the fabric. If you’ve created a shank, wrap the thread around it a few times to strengthen it. Then make a few small stitches in the fabric to secure the thread, and cut off the excess.
Step 6: Test the button
Gently tug on the button to ensure it’s securely attached. It should feel firm, but not too tight. If it feels loose, you may need to add a few more stitches.
Also read: How to Fix Sewing Machine Tension Problems?
How to Sew Buttons by Machine: A Step by Step Guide
Sewing buttons by machine is a quick and efficient method, ideal for those who need to attach buttons regularly or in bulk. It’s especially useful for those working on projects that require a uniform look, such as uniforms or multiple pieces of the same design.
Step 1: Gather Your Supplies

Before you begin, make sure you have the following items:
- Sewing Machine: Ideally, one that has a button-sewing setting or a zig-zag stitch.
- Button Foot: This is a special attachment for your sewing machine, designed to hold the button in place while sewing.
- Buttons: Ensure they are suitable for your fabric and the garment’s design.
- Thread: Choose a color that matches your fabric and button.
- Scissors: for cutting the thread.
Step 2: Prepare Your Sewing Machine

- Attach the Button Foot: This foot stabilizes the button while you sew. If your machine doesn’t have a button foot, you can still sew buttons using a zig-zag stitch.
- Select the Right Stitch: Set your machine to the button-sewing setting or choose a zig-zag stitch with a stitch width that matches the distance between the buttonholes.
Step 3: Position the button

- Place the fabric: Position your fabric under the button foot.
- Set the Button: Carefully place the button under the foot, aligning the holes with the needle’s position.
Step 4: Lower the needle

Manual Positioning: Manually lower the needle using the handwheel to ensure it aligns with one of the buttonholes. This step is crucial to prevent the needle from breaking.
Step 5: Start Sewing

- Begin with caution: Gently press the foot pedal to start sewing. Make a few stitches, then pause to check the alignment.
- Secure the Button: Continue sewing until the button is securely attached; usually, 6–8 stitches are sufficient.
Step 6: Finishing Touches
- Raise the needle: Once the button is attached, raise the needle and foot.
- Cut the Thread: Trim the thread close to the button.
- Check the button: Ensure the button is securely attached and that there’s enough thread slack for buttoning.
FAQs
What type of thread is best for sewing buttons?
For durability and strength, polyester thread is often recommended. It works well for both hand sewing and machine sewing. However, for natural fabrics like cotton, a cotton thread can be a good match.
Can I sew buttons with a basic sewing machine?
Yes, most basic sewing machines can be used to sew buttons. You’ll need to use a zig-zag stitch setting and ensure the stitch length is set to zero. Some machines also come with a special foot for sewing buttons.
How do I prevent the thread from tangling when sewing buttons by hand?
To prevent tangling, use a shorter length of thread (about 18 inches is ideal). Additionally, you can coat the thread with beeswax or a thread conditioner to reduce friction.
Is it necessary to create a shank when sewing a button?
A shank is necessary when sewing buttons onto thicker fabrics or where a bit of extra space is needed between the button and the fabric (like on a coat or jacket). For thinner fabrics or shirts, a shank may not be necessary.
Conclusion
Mastering ”How to Sew Buttons by Hand and Machines: A Step-by-Step Guide” is not only a practical skill but also a gateway to customizing and prolonging the life of your garments. Whether you choose hand sewing for its meticulousness or machine sewing for its efficiency, the satisfaction of repairing or creating something with your own hands is unparalleled. Remember, practice makes perfect, so don’t hesitate to start this rewarding journey.
Thanks!