How to sew a zipper in the middle of the fabric?
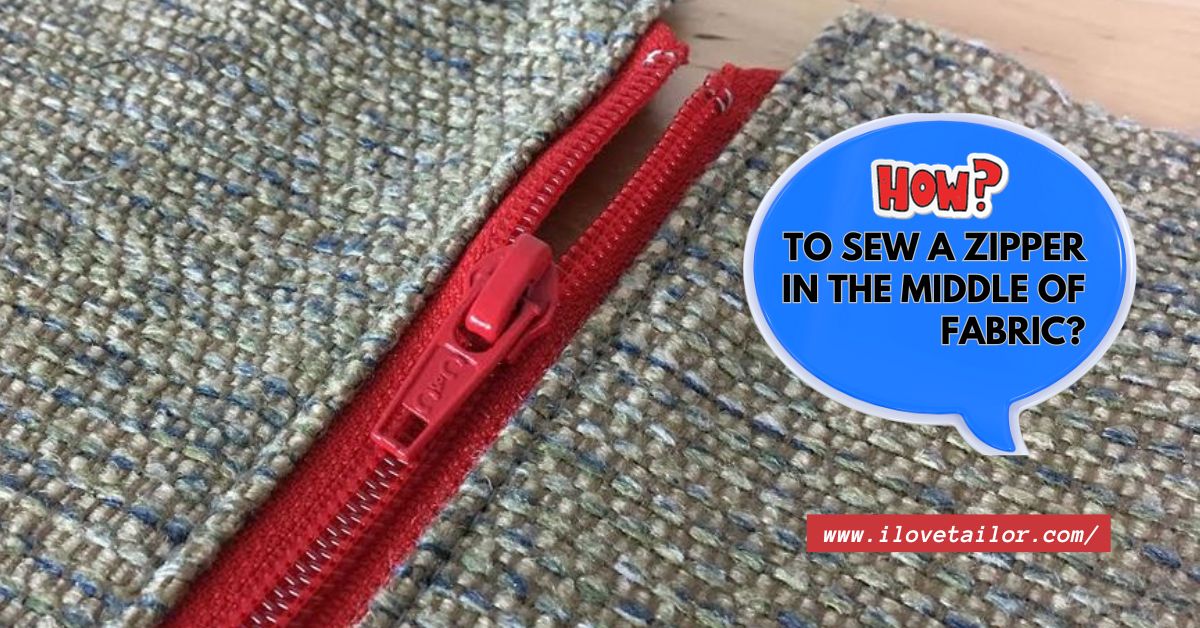
Adding a zipper to the middle of a fabric is a fundamental skill for dressmakers, crafters, and sewing enthusiasts. Whether you’re adding a zipper to a dress, a pouch, or any DIY project, knowing “how to sew a zipper in the middle of fabric?” is indispensable. In this detailed guide, we’ll break down the step-by-step process of doing precisely that. Let’s dive right in and understand how to sew a zipper in the middle of fabric. seamlessly.
Also read: How to sew without a Sewing Machine?
Step-by-step guide about how to sew a zipper in the middle of fabric
Materials needed
- The fabric you’ll be inserting the zipper into
- A zipper, ideally a few inches longer than you need,
- Sewing machine equipped with a zipper foot.
- Seam ripper.
- Pins or fabric clips.
- Scissors.
- Chalk or fabric marker.
- Thread (matching the fabric color).
Mark and Create the Seam
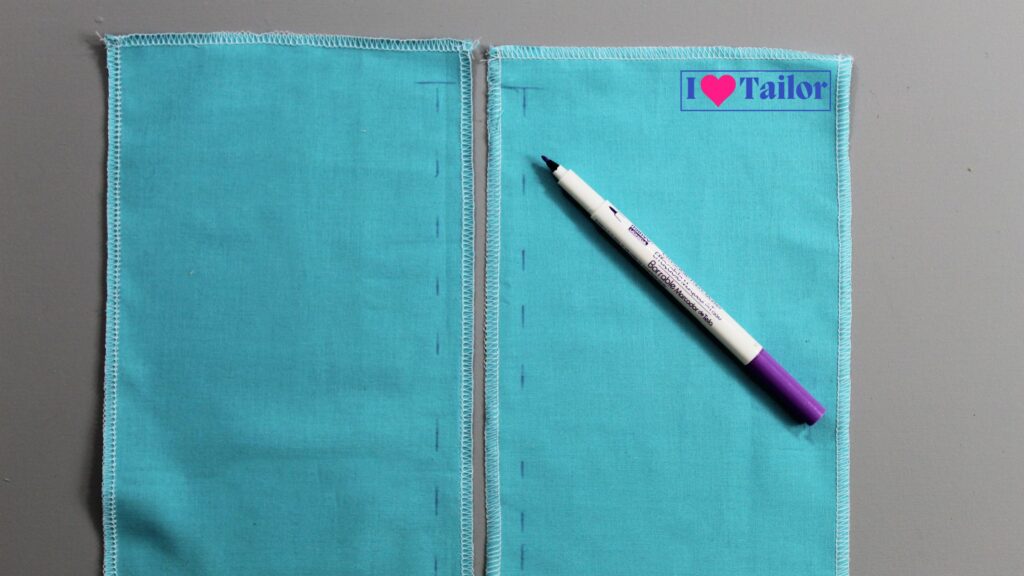
- Lay your fabric flat on a working surface.
- Decide on the location where you want the zipper.
- Mark the start and end points of where the zipper will be placed using chalk or a fabric marker.
- Now, sew a straight seam between these two markings. This seam acts as a placeholder for the zipper and will be removed later.
Preparing and Positioning the Zipper
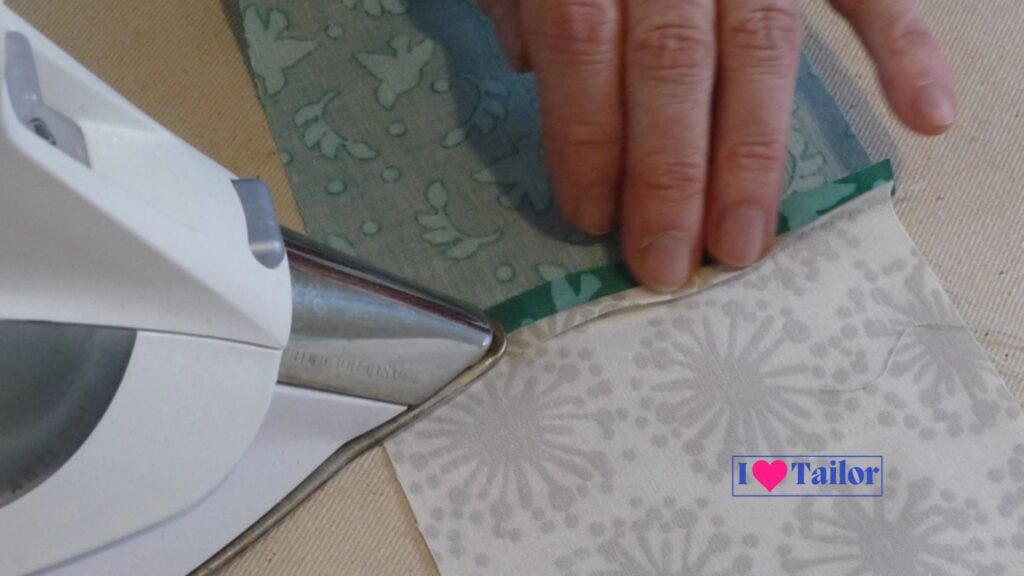
- Once you have your temporary seam, press it with an iron to create a crisp fold.
- Open up the fabric and lay it flat, exposing the temporary seam.
- Place the zipper face down on the seam, ensuring the zipper teeth align perfectly with the seam line.
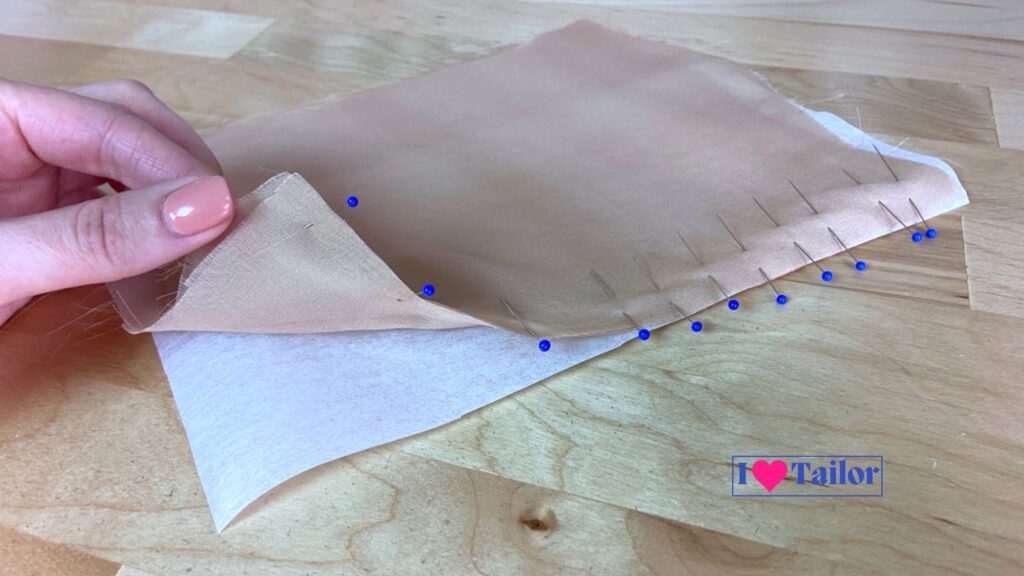
- Secure the zipper in place using pins or fabric clips, starting from the top and working your way down to the bottom.
Set up your sewing machine
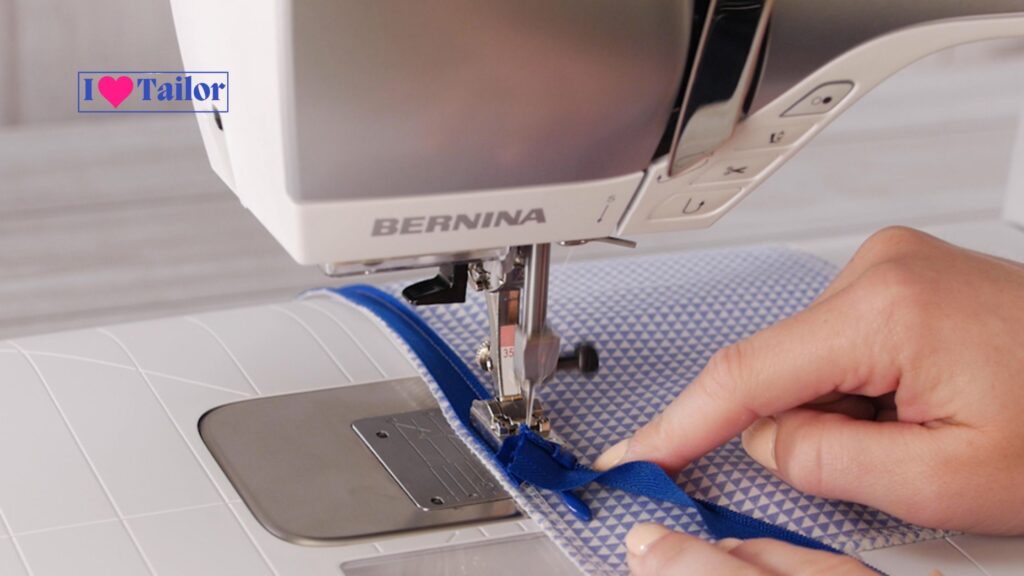
- Remove the standard foot from your sewing machine and replace it with the zipper foot. This specialized foot allows you to stitch close to the zipper teeth.
- Set your sewing machine to a straight stitch setting.
Sewing the zipper

- Position the fabric so the zipper’s top is under the zipper’s foot.
- Begin sewing down one side of the zipper, staying close to the teeth but not so close that the needle hits them.
- As you approach the bottom, leave the needle down, lift the foot, pivot the fabric, and then continue sewing to create a small stitch line across the zipper’s bottom.
- Return to the top of the zipper.
- Sew down the other side, ensuring you maintain an even distance from the zipper teeth, matching the first side.
- Again, when you reach the bottom, pivot the fabric and sew a line across the bottom, similar to the first side.
Unveiling the Zipper
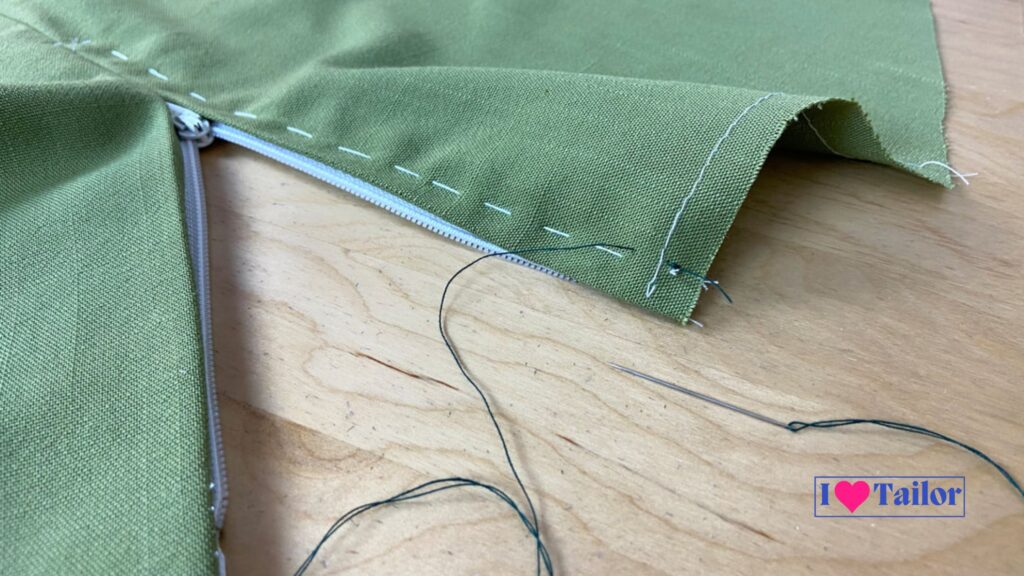
- Once you’ve securely stitched both sides of the zipper, it’s time to reveal it.
- Using a seam ripper, gently and carefully remove the temporary seam you created in step 2. Start at the top and work your way to the bottom.
- As you unpick the seam, the zipper will become exposed.
Finishing Touches
- Check the zipper’s functionality by zipping and unzipping it a few times.
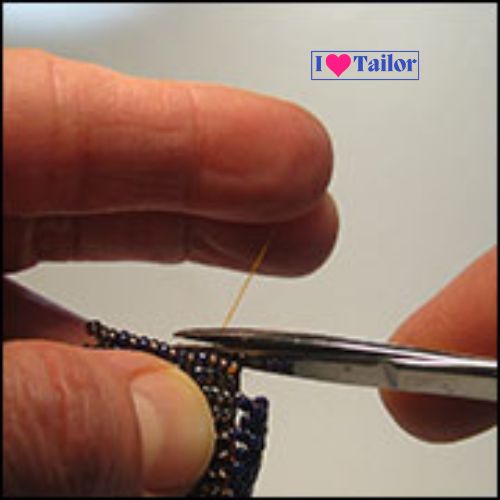
- Trim any excess threads and ensure everything is neatly in place.
Tips and tricks
- Choose the appropriate zipper type: Different projects require different zippers. For a seamless look on dresses, use an invisible zipper. For more robust needs like cushions or bags, opt for a standard or heavy-duty zipper.
- Stabilize with Interfacing: To prevent fabric stretching or distortion, especially on delicate materials, attach lightweight interfacing along the seam before sewing in the zipper.
- Hand Baste before Machine Sewing: Hand baste (temporary hand stitch) the zipper in place before final sewing to ensure perfect alignment. It helps in checking the zipper’s position and functionality.
- Use a zipper foot: A zipper foot on your sewing machine allows you to sew close to the zipper teeth, ensuring a neat finish without catching the zipper mechanism.
- Check as You Go: Periodically zip and unzip while sewing to ensure that there’s no puckering and that the zipper operates smoothly.
FAQs
Which type of zipper is best for my project?
It depends on your project. Invisible zippers are great for dresses and skirts for a seamless look. Standard zippers work well for cushions and everyday clothing, while heavy-duty ones are ideal for bags and jackets.
How do I prevent fabric puckering while sewing a zipper?
Stabilizing the fabric with interfacing, ensuring it’s not stretched while sewing, and using the right tension setting on your sewing machine can help prevent puckering.
Can I sew a zipper without a zipper foot?
While it’s possible, a zipper foot allows for a closer and more accurate stitch next to the zipper teeth, making the process smoother and the result neater.
My zipper gets stuck when I try it after sewing. What went wrong?
The fabric might be caught in the zipper teeth, or the stitching might be too close to the zipper mechanism. Check for any obstructions and ensure a smooth path for the zipper to travel.
Conclusion
Sewing a zipper in the middle of a fabric might seem intricate initially, but by following these detailed steps, the process becomes simple and straightforward. Practice will further refine your technique, allowing you to sew zippers seamlessly into any project. By mastering “how to sew a zipper in the middle of fabric”, you’ve added a valuable skill to your sewing repertoire!
Thanks!
Also read: How to tighten a loose Shirt without Sewing?

