How to serge without a serger?
Serging is a popular technique used in sewing to finish fabric edges and prevent fraying. While a serger is often the preferred tool for producing seams with a professional appearance, it is feasible to obtain the same results without one. This post will explain, “how to serge without a serger?” and provide you with practical advice on how to improve your sewing abilities.
What is a serger?
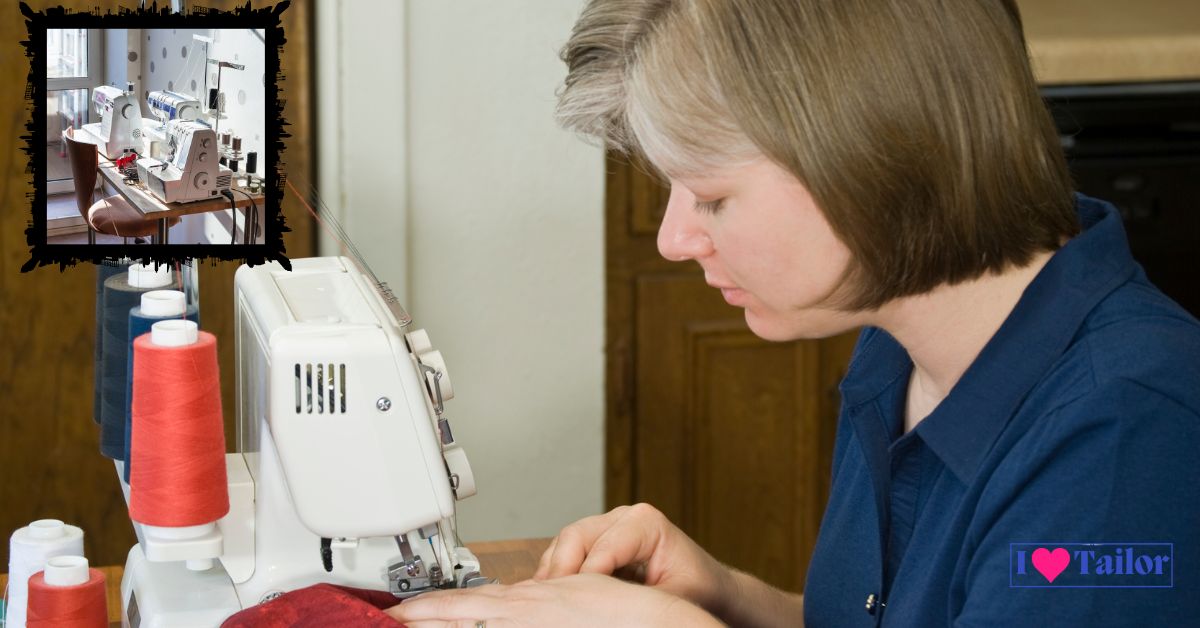
A serger, also known as an overlocker, is a specialized sewing machine that trims fabric edges, overcasts them, and sews them together simultaneously. It creates neat and durable seams, commonly seen on professionally finished garments.
Why serge without a serger?
Not everyone has access to a serger, or it may not be feasible to invest in one due to budget constraints. However, that shouldn’t stop you from achieving clean and finished seams.
By employing alternative techniques and using a regular sewing machine, you can achieve similar results without a serger.
Also read about, “How much does it cost to tailor a dress?“
Essential Tools for Serging without a Serger
To begin serging without a serger, you will need the following tools:
1. Sewing machine
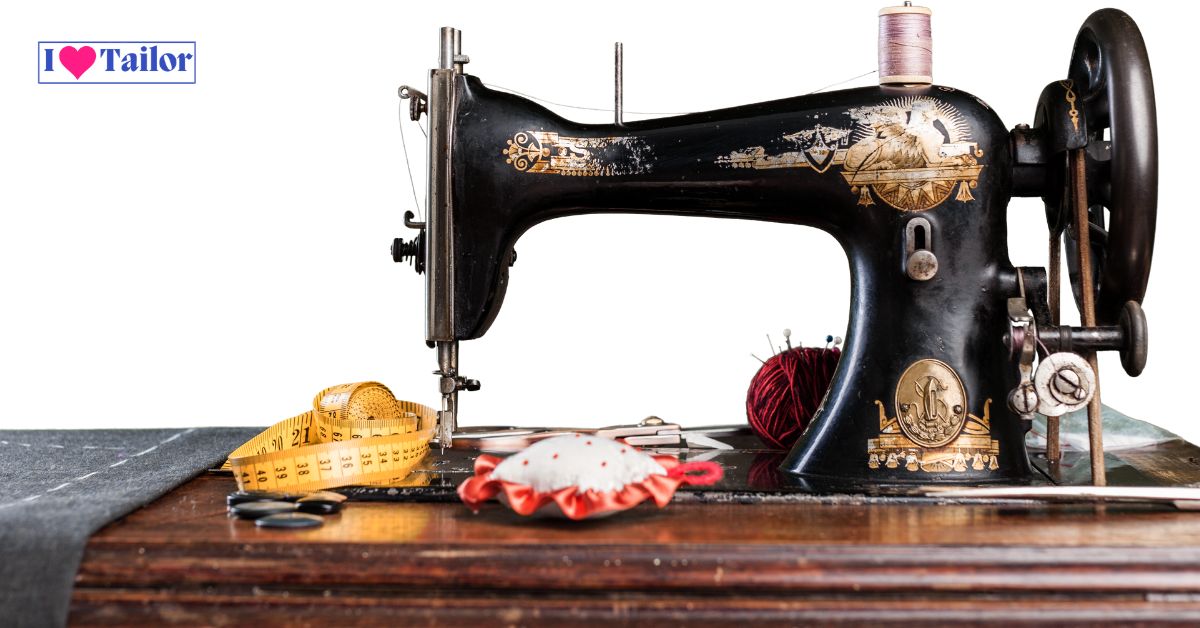
A basic sewing machine is a crucial tool for serging without a serger. It should have zigzag stitch capabilities and adjustable tension settings.
2. Overcasting foot
An overcasting foot is an attachment that fits onto your sewing machine, allowing you to mimic the serger’s overcasting stitch.
3. Overcasting stitches
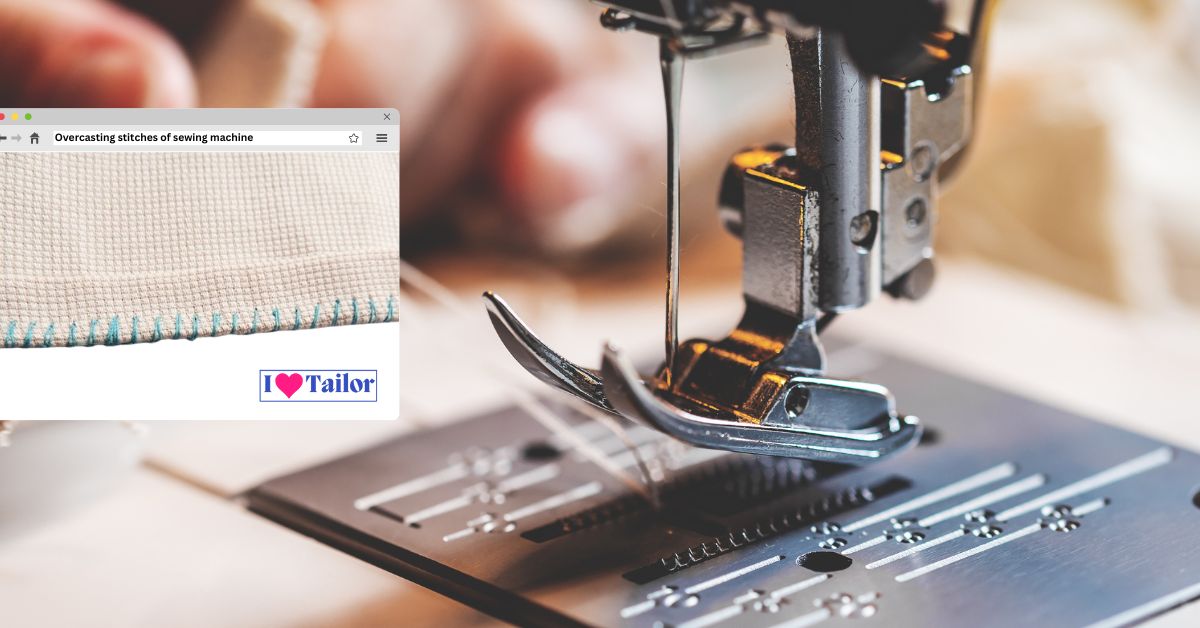
Familiarize yourself with the various overcasting stitches available on your sewing machine. These stitches are specifically designed to prevent fraying.
4. Fabric shears
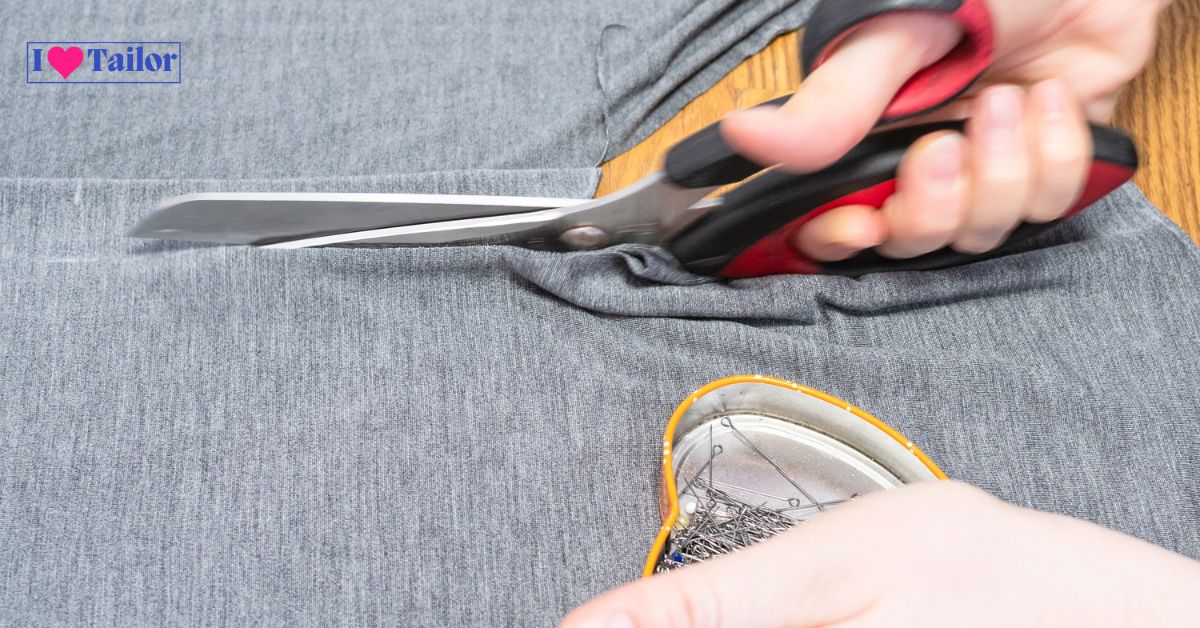
Invest in a pair of quality fabric shears to ensure clean and precise cutting of the fabric.
5. Seam allowance guide

A seam allowance guide is helpful for maintaining consistent seam widths while serging without a serger.
6. Thread
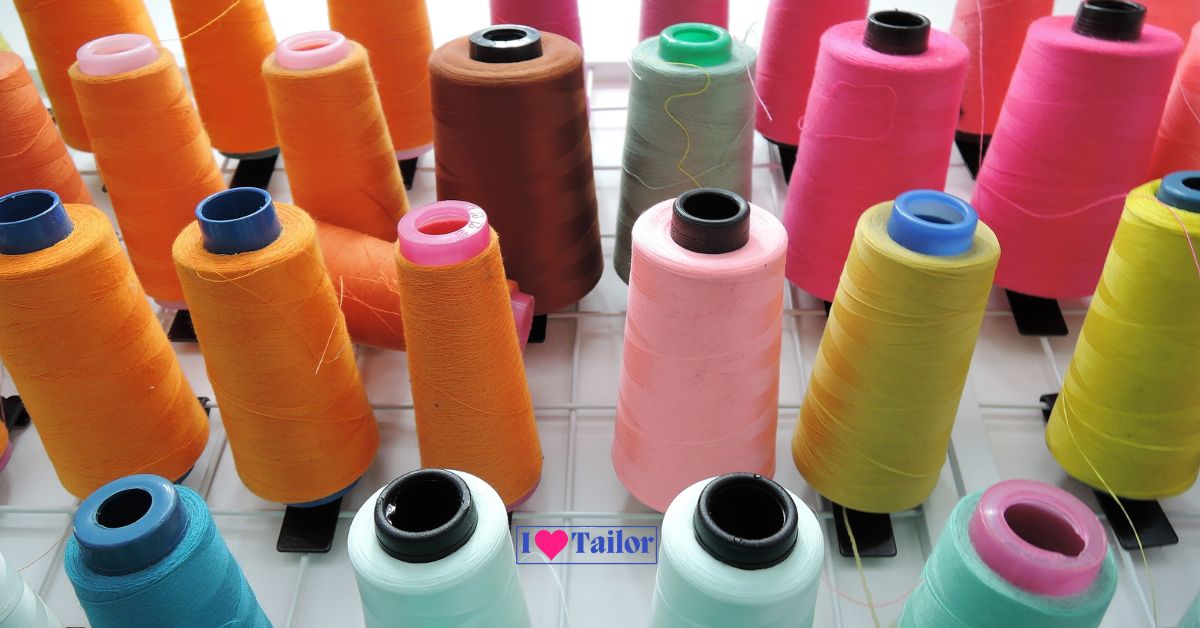
Choose a high-quality thread that matches your fabric. It should be strong and durable to withstand regular use.
Preparing the Fabric
Before serging, it’s essential to prepare your fabric properly to achieve optimal results.
1. Washing and drying
Wash and dry your fabric following the manufacturer’s instructions. This step ensures that the fabric shrinks before you sew it, avoiding any unexpected distortion after serging.
2. Ironing and pressing
Iron your fabric to remove wrinkles and ensure a smooth surface. Pressing the fabric before cutting and sewing helps in achieving accurate measurements and neat seams.
3. Cutting the fabric
Using fabric shears, cut the fabric according to your desired project. Be sure to include seam allowances for serging.
Top 7 Techniques for Serging without a Serger
Your cloth is now prepared, now let’s look at different methods for serging without a serger.
The completed edge produced by each method varies, giving you the option to choose the one that best matches your project.
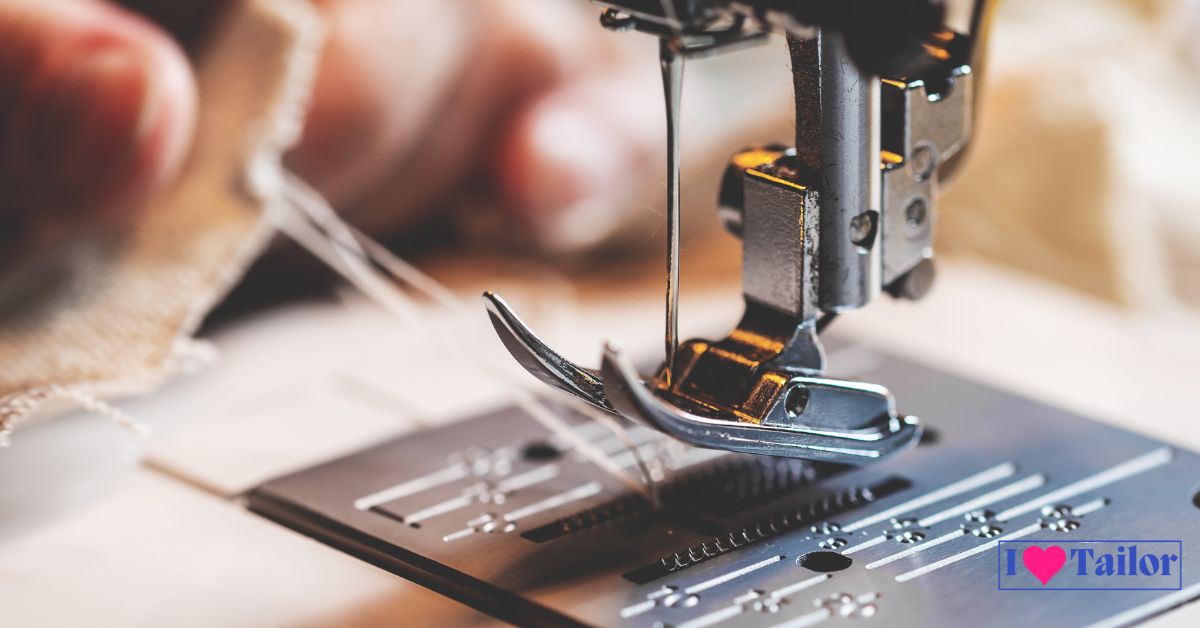
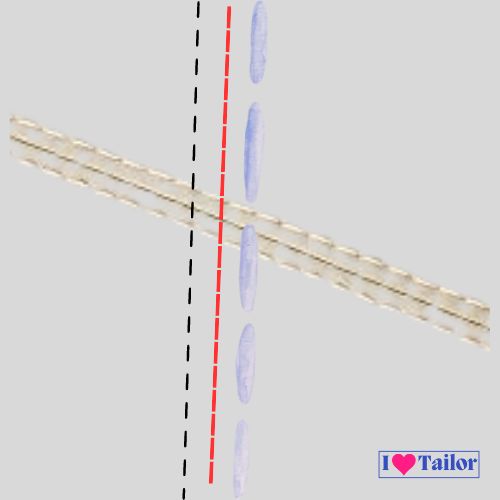
1. Zigzag stitch
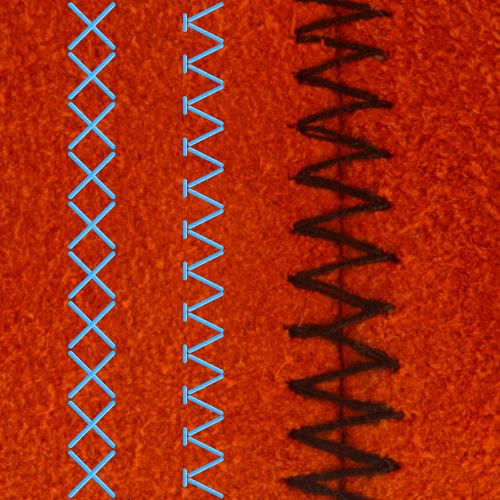
An adaptable stitch that may be used to finish cloth edges is the zigzag stitch. To get the desired effect, change the stitch’s width and length.
2. Overcasting stitch

Utilize the overcasting stitch on your sewing machine, either with or without an overcasting foot. This stitch mimics the serger’s overcasting function.
3. French seam
A French seam is a double-stitched seam that encloses the raw fabric edges. It provides a clean finish on lightweight and delicate fabrics.
4. Mock serger stitch

Some sewing machines have built-in stitch patterns that resemble serger stitches. Experiment with these stitches to achieve a serger-like finish.
5. Bias tape finish
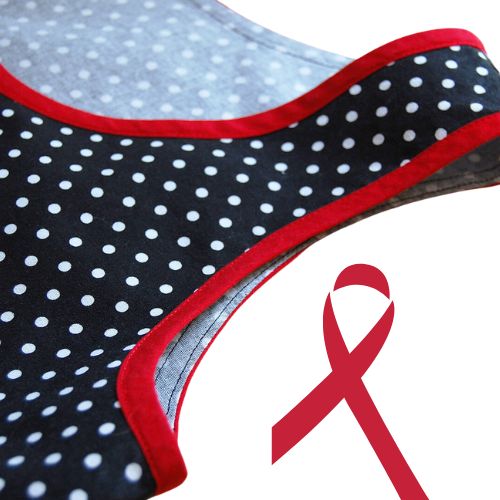
Applying bias tape to the fabric edges not only prevents fraying but also adds a decorative touch. This method works well for curved edges.
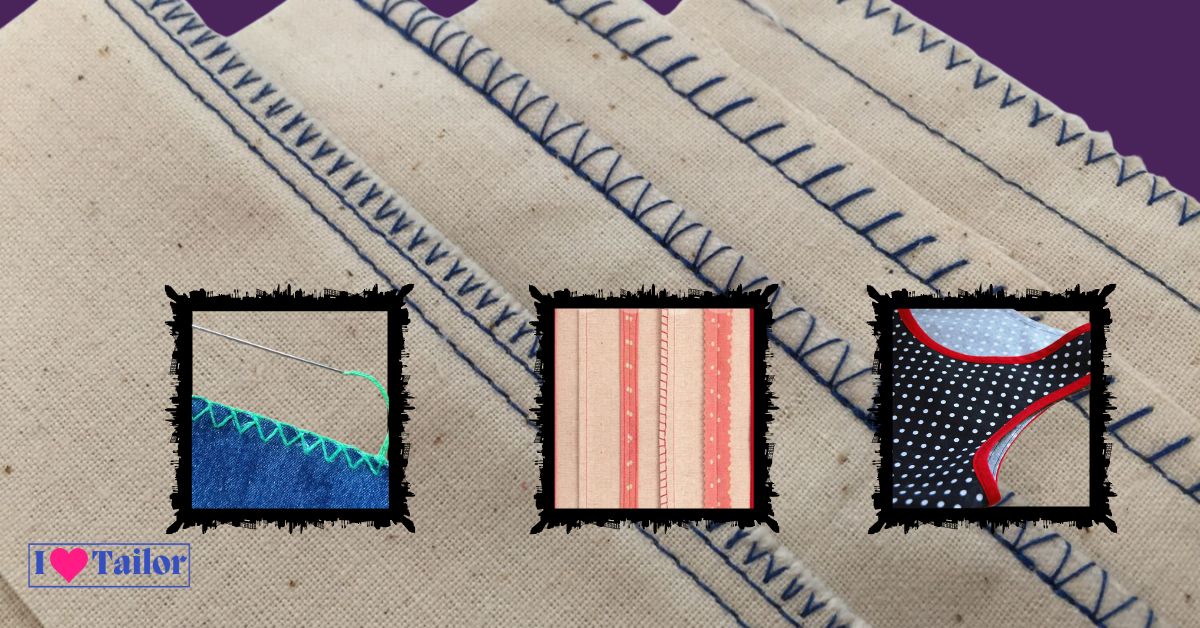
6. Overlock Stitch by Hand
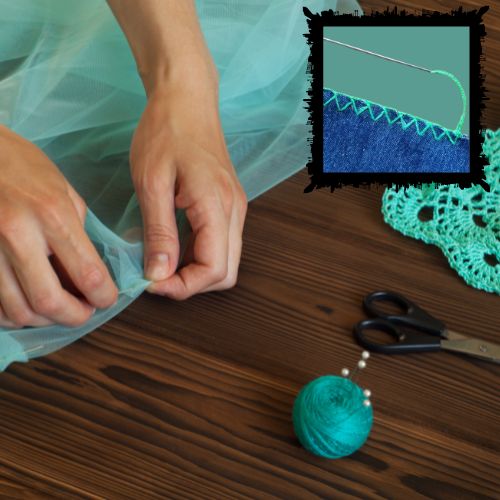
Overlocking by hand is possible! You can produce an Overlock stitch by hand that keeps the cloth from fraying, although it will take a lot longer than the two alternatives done on the sewing machine.
You just need some thread, a needle, some scissors, a ruler, and some kind of marking implement. This stitch (also known as “blanket stitch“) may be unassuming, but don’t let its apparent simplicity fool you; it does an excellent job.
7. Fray Check Glue
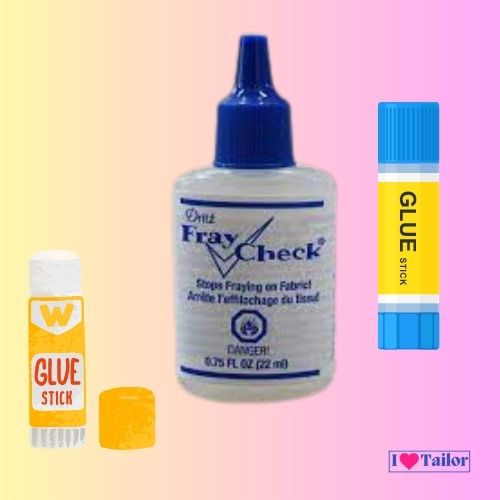
Fray Check glue is a product commonly used in sewing and crafting to prevent the fraying of fabric edges. It is a liquid adhesive that is applied along the cut edges of the fabric to seal them and prevent unraveling.
Fray Check glue dries clear and flexible, creating a protective barrier that helps to extend the life of the fabric and maintain its neat appearance. It is particularly useful for preventing fraying in delicate or loosely woven fabrics, such as satin, chiffon, or silk.
By using Fray Check glue, crafters, and sewers can ensure that their projects have clean, professional-looking finishes and avoid the hassle of dealing with frayed edges.
Related: “Can you use gorilla glue on the fabric?” Gorilla Glue has made a name for itself with its impressive bonding strength and versatility.
Tips for Successful Serging without a Serger
To ensure successful serging without a serger, consider the following tips:
1. Practice on scrap fabric
Before working on your actual project, practice the serging techniques on scrap fabric. This allows you to familiarize yourself with the stitches and adjust settings if needed.
2. Adjusting tension settings
Experiment with different tension settings on your sewing machine to find the optimal balance for achieving neat and secure seams.
3. Using the right needle
Choose the appropriate needle for your fabric type. For heavier fabrics, use a thicker needle to prevent breakage.
4. Securing thread ends
Always secure the thread ends by backstitching at the beginning and end of each seam. This prevents unraveling and adds durability to your seams.
5. Working with different fabric types
Different fabric types may require specific techniques. Research and test serging methods suitable for the fabric you are working with to achieve the best results.
Finishing Touches
After serging your fabric, it’s important to give your project some finishing touches.
1. Trimming excess threads
Carefully trim any excess threads left after serging to achieve a clean and professional look.
2. Pressing the finished seams
Use an iron to press the finished seams, ensuring they lay flat and have a polished appearance.
FAQs:
Can I achieve professional-looking results without a serger?
Yes, by employing alternative serging techniques and using a regular sewing machine, you can achieve professional-looking results.
Which sewing machine stitches are best for serging without a serger?
Zigzag stitches, overcasting stitches, French seams, and mock serger stitches are commonly used for serging without a serger.
Are there any limitations to serging without a serger?
While serging without a serger can produce great results, it may not be suitable for all fabric types or provide the same level of speed and efficiency as a dedicated serger.
How can I prevent fraying when serging without a serger?
Utilize overcasting stitches, French seams, or bias tape finishes to prevent fraying and ensure the longevity of your projects.
Can I use a regular sewing foot instead of an overcasting foot?
Yes, you can use a regular sewing foot to achieve overcasting stitches. However, an overcasting foot provides better control and accuracy.
Conclusion
Serging without a serger is a skill that every sewing enthusiast can master. By utilizing alternative techniques and the right tools, you can achieve clean and professional-looking seams.
With practice and attention to detail, you’ll be able to create beautifully finished projects that rival those made with a serger.
Thanks!