How to remove embroidery with backing? 10 Best Removal Tools
Embroidery enhances textiles’ beauty. However, you may wish to remove the backing from the embroidery. Knowing how to remove embroidery with backing may save time for professional and DIY embroiderers.
Understanding Embroidery with Backing
Embroidery with backing refers to a technique where a stabilizer or backing material is used to provide support and structure to the embroidered design.
The backing prevents the fabric from puckering during the embroidery process and ensures that the stitches remain in place. When removing embroidery with backing, it’s essential to consider the type of backing used and choose a suitable removal method accordingly.
This post will provide the best methods for removing needlework with backing. Let’s start.
10 Best Embroidery Removal Tools
Embroidery, while fulfilling, can sometimes be accompanied by errors that need correction. Having the right tools on hand to fix these mistakes is critical in maintaining the integrity of your fabric and design. ]
Related: How to fix Baggy crotch in Pants?
Here are the 10 best embroidery removal tools and a guide on how to use them properly:
1. Seam Ripper
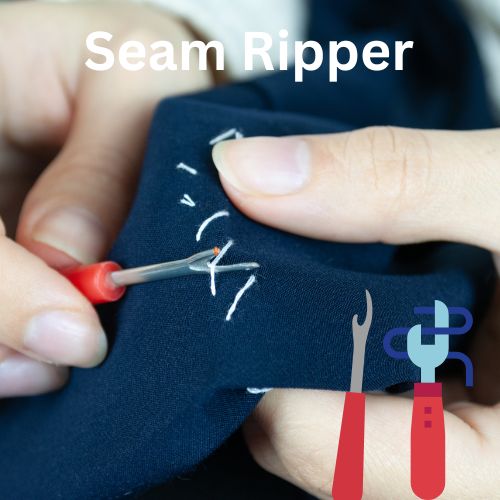
This tool is your first line of defense against unwanted stitches. With a pointed end, it slips underneath individual stitches, allowing you to cut and lift them. Hold the fabric taut, gently insert the sharp point of the seam ripper under the stitch, and carefully cut. Be sure not to pull or force the stitch, which could lead to fabric damage.
Related: Will Soaking Wet Clothes Ruin a Dryer?
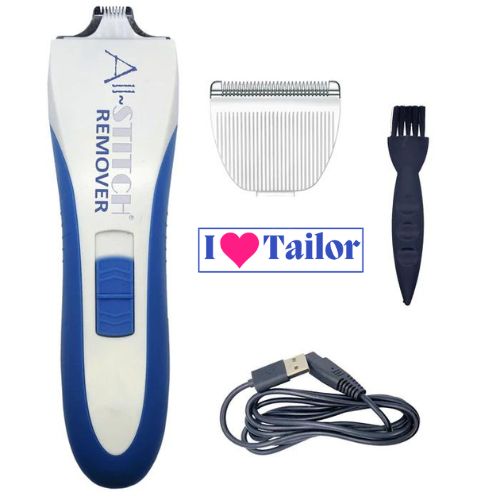
2. Embroidery Eraser
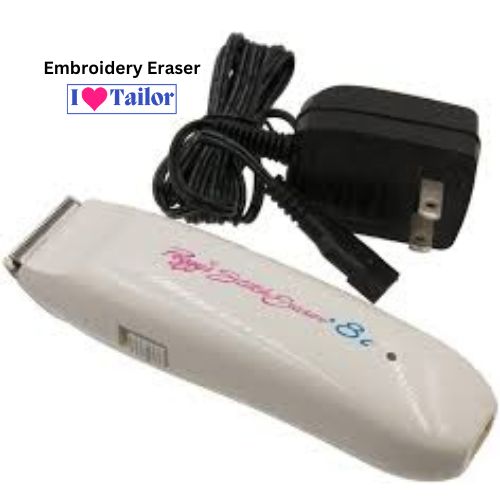
An electric tool designed to “shave off” unwanted stitches from the top. To use it, turn it on and gently glide it over the erroneous stitches in a back-and-forth motion. Exercise caution, however, to avoid harming the fabric.
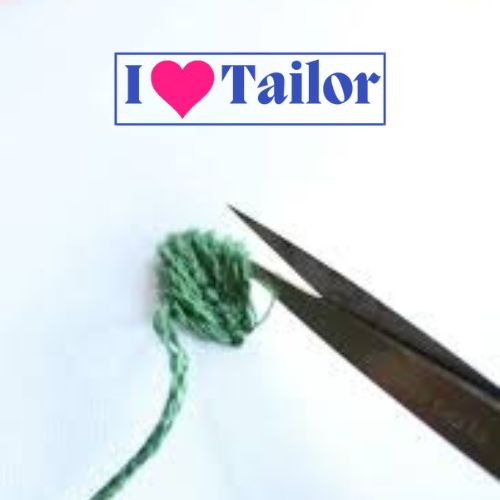
3. Thread Snips
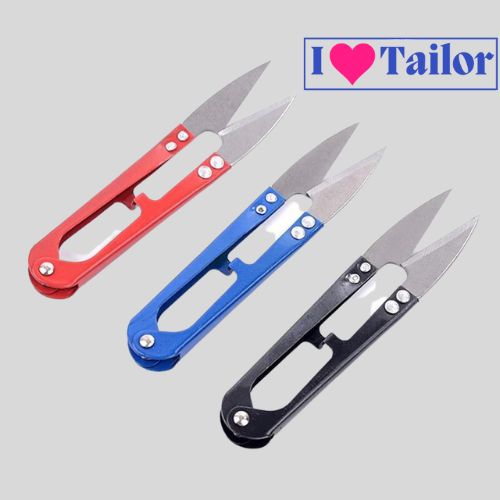
These are small, sharp scissors ideal for snipping away unwanted stitches or cutting threads. To use, slide the pointed tip under the stitch and cut. Thread snips allow for precise, close cuts.
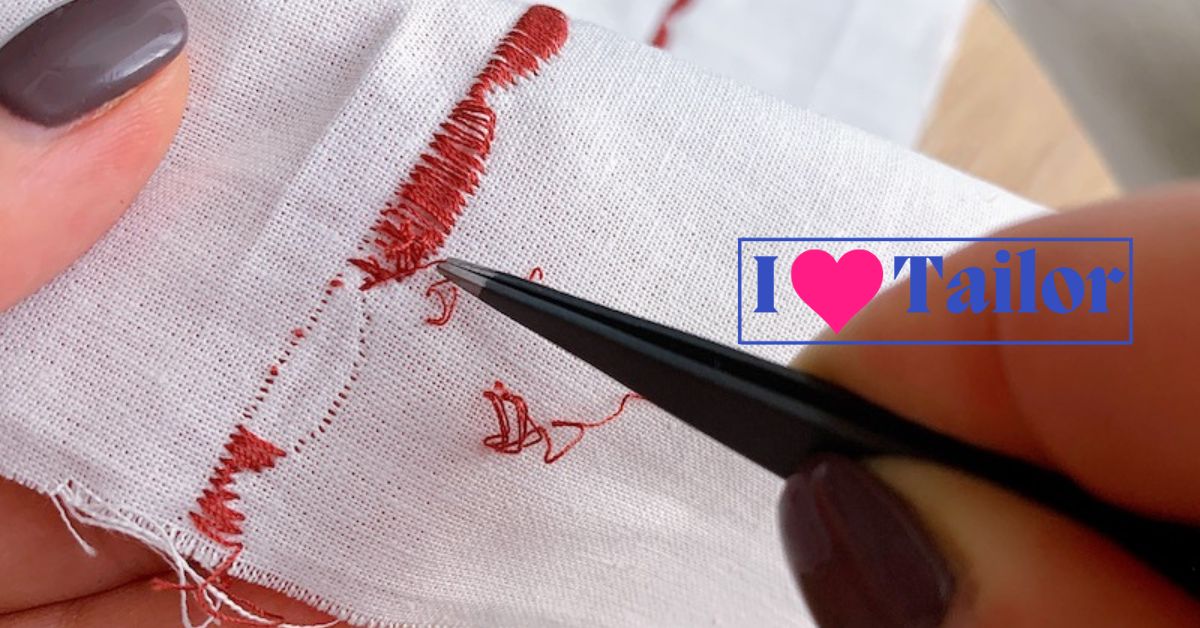
4. Tweezers
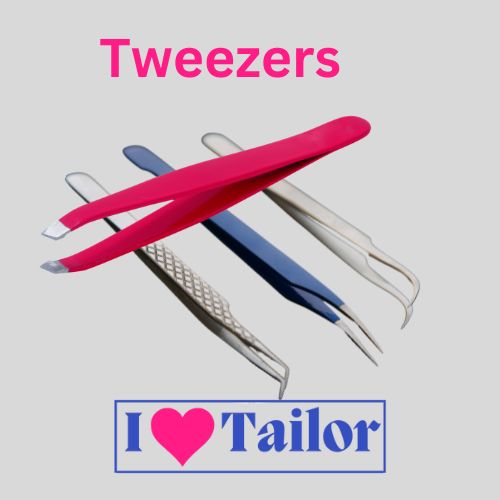
Essential for plucking out loosened stitches. Use them to grip and pull out remaining threads after cutting, always being mindful not to tug too hard on stubborn stitches.
5. Lint Roller
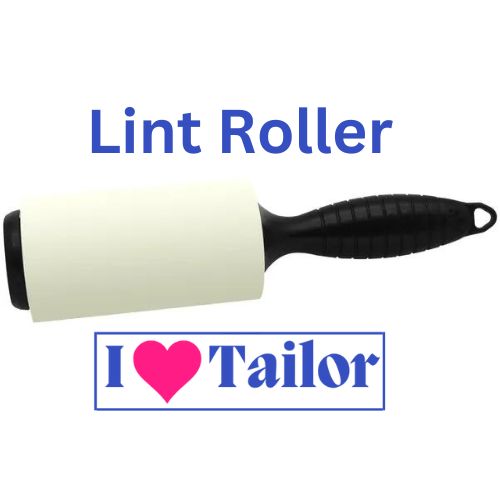
The Lint Roller tool helps clean up after stitch removal. Roll it over your fabric to collect any small bits of thread left behind. It helps keep your workspace tidy and prevents stray threads from getting caught in future stitches.
6. Magnifying Glass
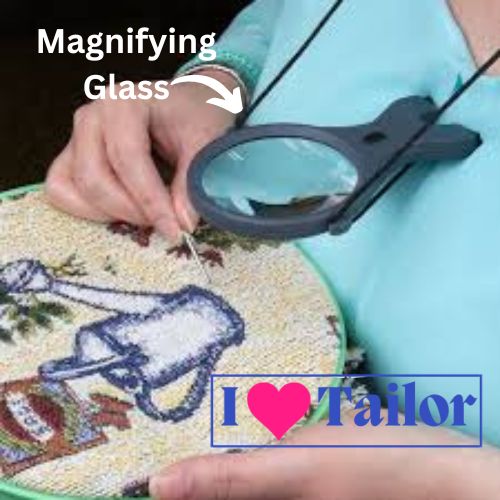
With this, you can see small stitches more clearly, making them easier to remove without causing fabric damage. Simply hold it over the area you’re working on to get a closer view.
7. Needle-Nosed Pliers
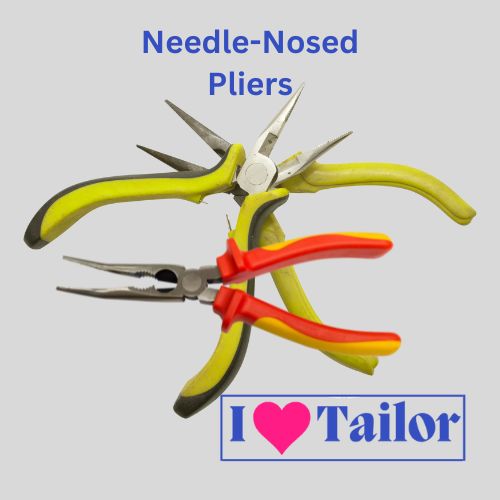
For stubborn stitches, these pliers can provide the necessary force. Gently grip the thread with the pliers and pull lightly to remove the stitch. Be sure to pull in the direction of the stitch to avoid distorting the fabric.
8. Light Box

This illuminates your fabric from behind, helping you see the stitches more clearly, especially when dealing with light threads on light fabric. Place your fabric over the light box while working to better see the stitches you’re removing.
9. Stitch Eraser Tool
Similar to a seam ripper but with a curved blade, this tool helps get under tight stitches. Hold the fabric taut and slide the tool under the stitch, then carefully cut. This tool is particularly good for dense stitching.
10. Safety Pins
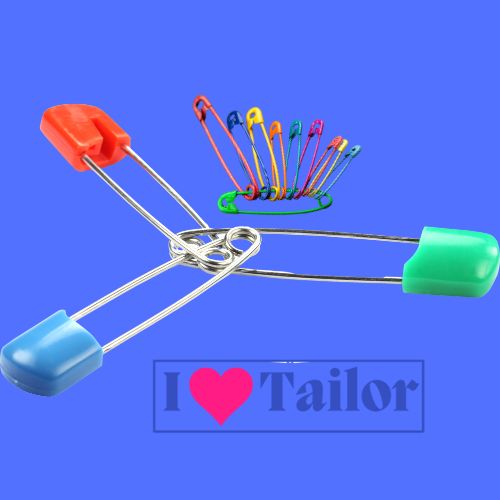
These are useful for “frogging,” or pulling out a line of stitches all at once. Insert the safety pin at the end of the row of stitches, then lift it to pull out the entire line. To avoid fabric damage, stitch removal requires patience and a delicate touch. Each tool makes needlework easier and more fun.
4 Best Methods to Removing Embroidery with Backing(Step-by-Step Guide)
- Method 1: Seam Ripper Technique
- Method 2: Iron and Solvent Technique
- Method 3: Freezing Technique
- Method 4: Cutting Technique
Method 1: Seam Ripper Technique
Step 1: Assess the Embroidery
Examine the embroidery carefully to determine its construction and complexity. This assessment will help you understand the type of stitches used and any challenges you may encounter during removal.
Step 2: Prepare the Fabric
Before removing the embroidery, prepare the fabric by placing it on a flat, clean surface. Smooth out any wrinkles or creases, ensuring a clear and accessible work area.
Step 3: Mark the Removal Areas
Using tracing paper and a fabric marker, mark the areas of the embroidery you wish to remove. This step is crucial for precision, especially when dealing with intricate designs.
Step 4: Loosen the Stitches
Gently loosen the stitches around the marked areas using a seam ripper. Take care not to cut the fabric while removing the embroidery. Work slowly and patiently, focusing on one stitch at a time.
Step 5: Remove the Embroidery
Once the stitches are loosened, use tweezers to pull out the remaining threads. Proceed carefully, ensuring no to damage the fabric or surrounding embroidery. If you encounter stubborn stitches, carefully cut them using sharp scissors.
Step 6: Clean and Finish
After removing the embroidery, inspect the fabric for any leftover threads or backing material. Use tweezers or a lint roller to clean the fabric thoroughly. If necessary, wash the fabric gently to remove any residue.
Method 2: Iron and Solvent Technique
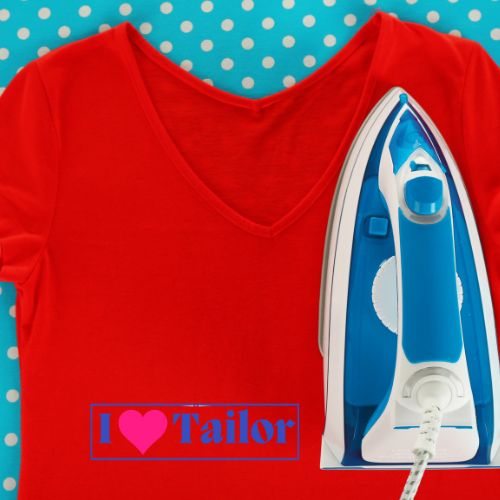
The iron and solvent technique is effective for removing embroidery with adhesive backing. Here’s how to do it:
Step 1: Heat the iron
Set your iron to a low heat setting without steam. Allow it to warm up.
Step 2: Protect the fabric
Place a clean, lint-free cloth over the embroidery to protect it from direct heat.
Step 3: Apply heat
Press the warm iron gently on the cloth-covered embroidery. The heat will soften the adhesive backing.
Step 4: Lift the embroidery
Once the adhesive backing is warm, use tweezers to lift a corner of the embroidery. Slowly peel it away from the fabric.
Step 5: Remove the residue
If any residue remains on the fabric, dampen a cotton swab with rubbing alcohol or adhesive remover. Gently dab the affected area to remove the residue.
Step 6: Clean the fabric
Launder the fabric according to the care instructions, using a mild detergent. This will eliminate any remaining adhesive and restore the fabric’s appearance.
Method 3: Freezing Technique

The freezing technique is useful for removing embroidery with a water-soluble stabilizer. Follow these steps:
Step 1: Prepare the fabric
Place the fabric with the embroidery in a plastic bag, ensuring it is sealed tightly.
Step 2: Freeze the fabric
Put the bagged fabric in the freezer and leave it for several hours or overnight. The low temperature will make the stabilizer brittle.
Step 3: Remove the fabric
Take the fabric out of the freezer and allow it to thaw for a few minutes. The stabilizer will become easier to peel off.
Step 4: Peel off the stabilizer
Gently peel the now-brittle stabilizer away from the fabric. Take your time to avoid damaging the stitches.
Step 5: Clean the fabric
If any residue remains, dampen a cotton swab with water and mild detergent. Carefully clean the affected area and rinse with clean water.
Method 4: Cutting Technique
The cutting technique is suitable for removing small embroidered sections or when other removal methods are not feasible. Follow these steps:
Step 1: Assess the embroidery
Determine the specific section of embroidery you want to remove. Use small, sharp scissors to carefully cut the threads connecting the design to the fabric.
Step 2: Trim excess threads
After removing the desired embroidery section, trim any excess threads close to the fabric’s surface.
Step 3: Clean the fabric
Inspect the fabric for any loose threads or residue. Use tweezers to remove any remaining threads and clean the area with a lint-free cloth.
Comparison Table: Pros and Cons of Each Method
| Method | Pros | Cons |
|---|---|---|
| Seam Ripper | Suitable for various types of backing materials. | Requires precision and caution to avoid fabric damage. |
| Iron and Solvent | Effective for adhesive-based backing. | May not work as well for other types of backing. |
| Freezing | The safest method that minimizes the risk of fabric damage. | The safest method that minimizes the risk of fabric damage. |
| Cutting | Suitable for small sections or when other methods are not feasible. | Permanent removal of the embroidered design. |
Tips for Successful Embroidery Removal
- Always test any removal method on a small, inconspicuous area of the fabric before proceeding with the entire embroidery.
- Be patient and work slowly to avoid fabric damage.
- Use a magnifying glass or additional lighting if needed for precision work.
- Follow the fabric’s care instructions when laundering it after embroidery removal.
FAQs:
How do you remove embroidered logo with backing?
To remove an embroidered logo with backing, gently cut the connecting threads using a seam ripper or tiny scissors. Carefully remove the backing material without damaging the cloth. Rub alcohol or glue remover on the residue. For fragile textiles or complicated logos, use professionals.
What is the best way to remove embroidery backing?
The kind of embroidered background determines how to remove it. Freezing cloth and carefully taking off stabilizer or water-soluble backing works. A low-heat iron and solvent soften and lift adhesive backing. Avoid fabric damage by testing first.
Can you remove the embroidery and reuse it?
You may reuse embroidery on another cloth. However, it involves the careful removal of stitching and adhesive residue, adjusting the pattern if required, and correct application to the new fabric. Consult a professional for optimum outcomes.
Conclusion: remove embroidery with backing
Removing embroidery with backing is a delicate task that demands time and accuracy. This article’s step-by-step instruction lets you safely and successfully remove embroidery without harming the cloth. Assess the needlework, prepare the cloth, note the removal areas, loosen the threads, and remove it gently. Finally, clean and prepare the cloth for its future use.
The Insiders Views has plenty of knowledge about SEO, Cryptocurrencies, Fashion, and more. Our website includes several subjects to enlighten and amuse you.
Disclaimer: This article covers basic embroidered backing removal methods. The process’s success depends on cloth type, thread, and other considerations. Test any procedure on a tiny, inconspicuous area before removing it completely. To preserve and handle antique or costly embroidered artifacts, seek an expert.
Thanks!