How to Make Button Loops: 4 Easy and Simple Ways
As we venture into the intricate world of sewing, it becomes clear that it’s the subtle elements, like button loops, that truly elevate our creations. Embarking on the journey of How to Make Button Loops: 4 Easy and Simple Ways is more than learning a fundamental sewing technique; it’s about adopting the artistry that transforms your homemade apparel into custom, tailored pieces. For beginners eager to upgrade their sewing skills or seasoned artisans desiring to infuse an elegant touch into their works, mastering the creation of button loops is invaluable.
This guide is designed to offer straightforward instructions and tips, enhancing your sewing ventures and making your garments distinctly sophisticated.
Understanding Button Loops
Button loops bring a delightful touch to garments, serving both a practical and decorative role. Learning to create these loops not only improves the appearance of your clothing but also imparts a unique, personal element to your sewing projects. This guide offers an in-depth look at how to construct four different styles of button loops, each with its own distinctive charm and functionality.
Materials Needed: Types of Thread and Needles
Before diving into the process, it’s crucial to gather the right materials. You’ll need:
- Thread: The type of thread you choose should complement the fabric and the type of button loop you’re creating. For fabric loops, a thread matching the garment is ideal. For handstitched loops, a strong, durable thread like embroidery floss or pearl cotton works well.
- Needles: A sharp sewing needle is necessary for handstitching. The size will depend on the thickness of your thread and fabric.
- Fabric/Elastic: Depending on the type of loop you’re making, you may need extra fabric matching your garment or elastic.
- Scissors, Ruler, and Pins: Basic sewing tools to cut, measure, and hold materials in place.
How to Make Button Loops: 4 Easy and Simple Ways
Button loops are a charming addition to any garment, offering a functional yet decorative touch. Understanding how to create these loops not only enhances the look of your clothing but also adds a personal touch to your sewing projects. Here’s a detailed guide to creating four types of button loops, each with its own unique style and function.
1. Fabric button loops
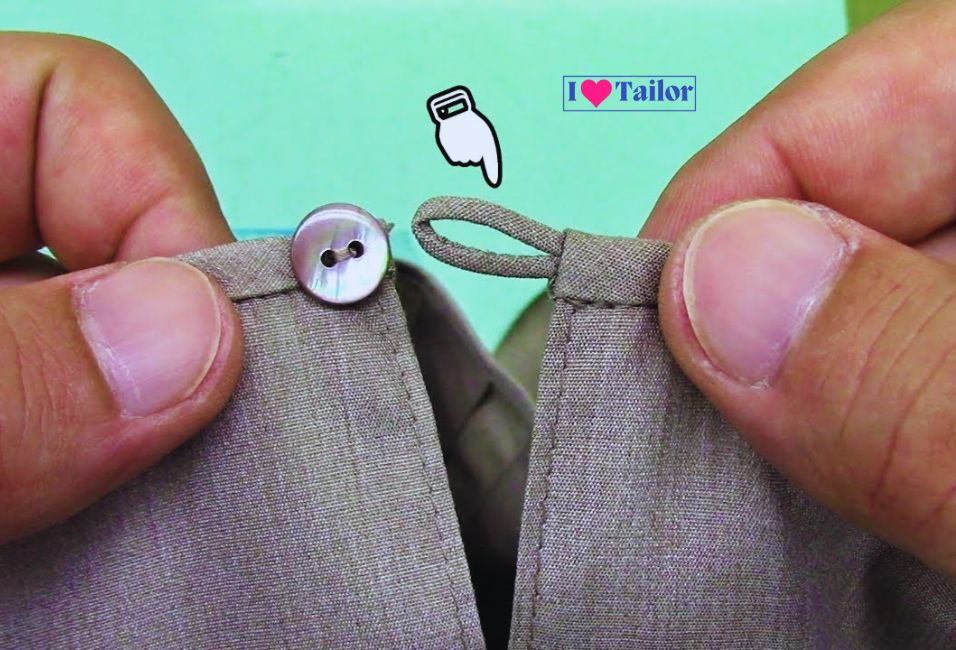
Fabric button loops are elegant and blend seamlessly with your garment, as they can be made from the same fabric. They are ideal for dresses, blouses, and cuffs, providing a cohesive and polished look.
Steps:
- Cut a strip of fabric.
- Width: About 1 inch wide to allow for folding and seam allowances.
- Length: It should be enough to form the loop with extra for attaching it to the garment.
- Tip: Choose a fabric that matches or complements your garment for a seamless look.
- Fold and stitch:
- Fold the strip lengthwise, right sides together, so that the raw edges meet.
- Stitch down the long edge, approximately 1/4 inch from the edge, to create a narrow tube.
- Tip: Use a matching thread for a more invisible seam.
- Turn right side out.
- Use a safety pin or a loop turner to gently pull the fabric tube right side out.
- This can be a delicate process, so take your time to avoid tearing the fabric.
- Press and sew:
- Press the loop flat with an iron to make it neat and easier to work with.
- Hand sew or machine sew the loop into place on your garment at the marked positions.
- Ensure the loop is the right size for your button and securely attached.
2. Handstitched button loops
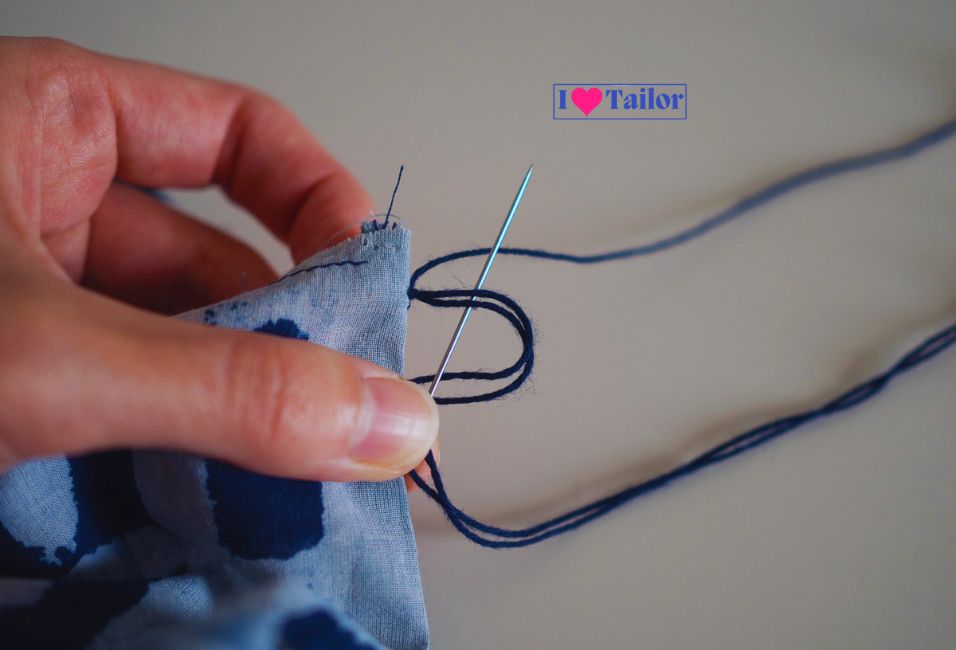
Handstitched button loops offer a more traditional and artisanal look. They are quite durable and can be created with a variety of threads to match or contrast with your garment.
Steps:
- Mark the placement:
- Determine where you want your button to sit and mark the loop’s placement accordingly.
- Consider the size of the button and the ease of fastening when deciding on the loop’s length.
- Thread the needle:
- Choose a strong thread, such as embroidery floss or pearl cotton, for durability and visual appeal.
- Double the thread for extra strength and knot the end.
- Stitch the loop:
- Create a loop with the thread at the marked spot, ensuring it’s large enough to accommodate the button comfortably.
- Use buttonhole stitches to encase the raw loop, working tightly and neatly around the entire loop.
- Secure the loop firmly to the fabric, ensuring it’s well-anchored and won’t come loose with use.
Also read: How to sew buttons by hand and machines: A step-by-step guide
3. Elastic button loops
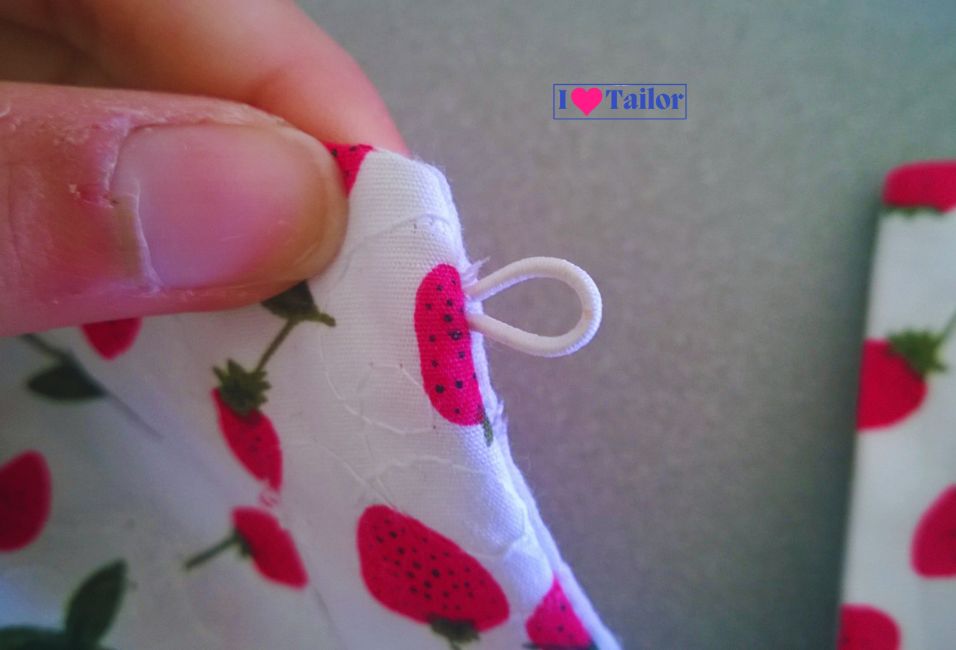
Elastic button loops are perfect for areas requiring flexibility, such as children’s clothing, fitted garments, or areas that might experience strain. They provide ease of use and a comfortable fit.
Steps:
- Cut Elastic:
- Measure and cut a small piece of elastic to the desired length, considering the stretch and the size of the button.
- Opt for a narrow elastic that won’t be too bulky or detract from the garment’s appearance.
- Form the loop:
- Fold the elastic to form a loop and pin it in place on the garment in the marked position.
- Ensure the loop is slightly stretched while pinned to accommodate the button easily.
- Sew in Place:
- Using a sewing machine or hand stitching, securely sew the ends of the elastic loop to the garment.
- Reinforce with multiple stitches to ensure the elastic is well-attached and can withstand regular use.
4. Crocheted button loops
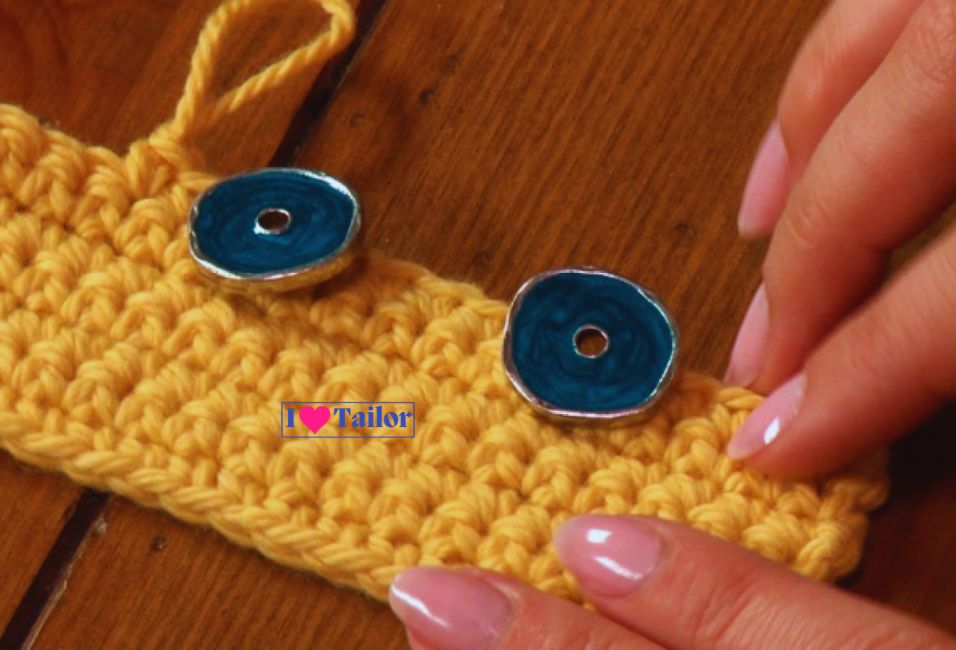
Crocheted button loops add a delightful, handcrafted touch to your garments, perfect for when you want a decorative and sturdy closure.
Steps:
- Prepare your thread or yarn. Cut a length of thread or yarn suitable for the size of your loop.
- Create a Slip Knot: Make a slip knot and place it on your crochet hook.
- Chain Stitches: Crochet a chain long enough to form a loop that fits around your button snugly. The number of stitches will depend on the size of your button and the thickness of your yarn or thread.
- Join Ends: Once your chain is the right length, slip stitch into the first chain to form a loop.
- Attach the loop: Position the crocheted loop on your garment where the button will sit. Ensure it’s aligned correctly for easy fastening.
- Secure the Loop: Sew the ends of the loop to the garment with a needle and thread, ensuring it’s firmly attached.
FAQs
Can I use any type of thread for button loops?
While you can use a variety of threads, the best choice is a strong, durable thread like upholstery thread, embroidery floss, or pearl cotton. The thread should be suitable for the fabric’s weight and the loop’s function to ensure longevity and aesthetic appeal.
How do I choose the right size button for my loop?
The button size should comfortably fit through the loop without slipping out easily. As a general rule, the loop should be just a bit larger than the button’s diameter. Measure the button and add a small allowance for the loop’s size to ensure a snug, secure fit.
What’s the best way to secure a hand-sewn button loop?
The best way to secure a hand-sewn button loop is by using a sturdy stitch, such as the buttonhole stitch or blanket stitch. Make sure to reinforce the area where the loop is attached to the fabric with several tight, small stitches to prevent it from coming loose.
Can elastic loops be used on any type of fabric?
Elastic loops are versatile and can be used on most types of fabric. However, they’re particularly beneficial for fabrics with some stretch or on garments that require a flexible closure, like fitted dresses or children’s clothing. Ensure the fabric is sturdy enough to support the elastic’s pull without warping or tearing.
Conclusion
Mastering How to Make Button Loops: 4 Easy and Simple Ways is a valuable skill that can elevate your sewing projects from ordinary to extraordinary. Whether you choose fabric, handstitching, or elastic loops, each type adds a unique touch to your garments. With practice and creativity, you can customize these techniques to suit any sewing project, adding both beauty and functionality to your creations.
Happy sewing!