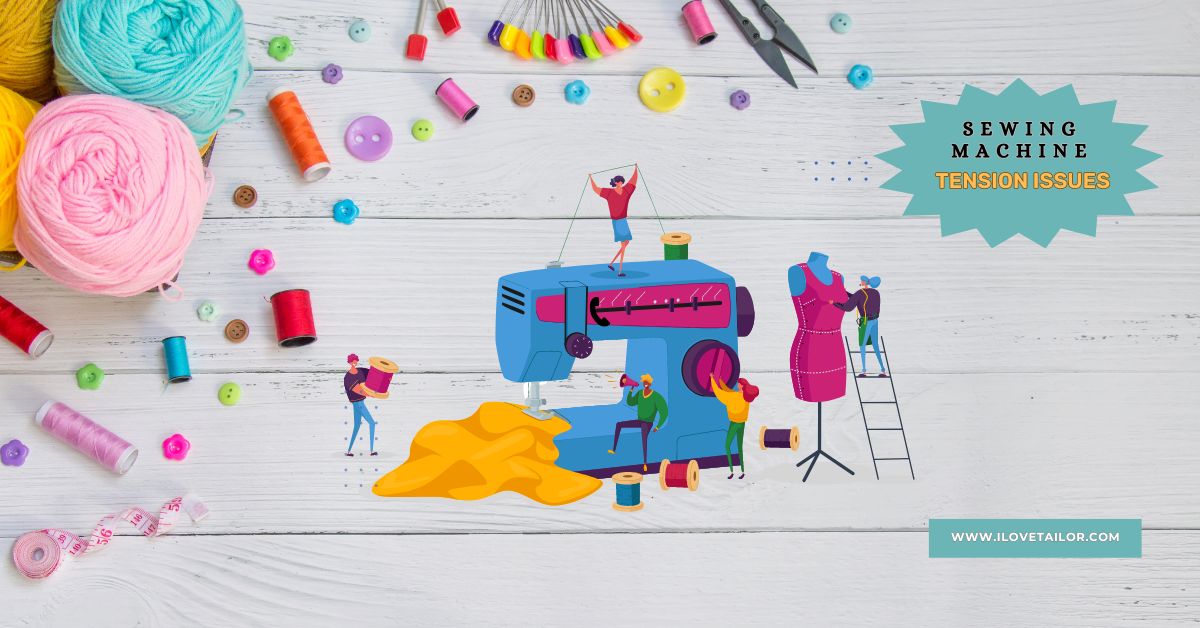
How to Fix Sewing Machine Tension Problems?
Sewing machines are indispensable tools for both professional tailors and hobbyists alike. However, one common issue that can arise is tension. This guide will delve into the nitty-gritty of How to Fix Sewing Machine Tension Problems, providing you with clear, simple, and easily readable content to help you understand and resolve these issues effectively.
Understanding Tension Basics
First things first, let’s demystify what tension is all about. Tension in sewing machines relates to the balance between the top thread and the bobbin thread. When in harmony, they create perfect stitches. But when out of sync, it’s a recipe for disaster!
The Importance of Proper Tension
The tension on a sewing machine significantly influences the quality of your stitches. Proper tension ensures that the upper and lower threads interlock smoothly at the fabric’s surface, creating even, consistent stitches. If the tension is too loose or too tight, it can lead to a host of problems, including uneven stitching, thread breakage, and fabric puckering. Understanding and maintaining the right tension is crucial for achieving professional-grade results in your sewing projects.
Common Signs of Tension Problems
Identifying tension problems early can save you a lot of time and frustration. Here are some common signs to watch out for:
- Loose or Skipped Stitches: If you notice your stitches are not forming correctly or there are skipped stitches, it might be a tension issue.
- Puckering Fabric: When the tension is too tight, it can pull the fabric, causing it to pucker.
- Thread Breakage: A frequently breaking thread can be a sign of too much tension.
- Uneven Thread Lay: If the upper and lower threads are not lying flat and even on the fabric, the tension might be off.
How to Fix Sewing Machine Tension Problems? An In-Depth Troubleshooting Guide
Tension issues in sewing machines can be perplexing, causing a myriad of stitching problems. This comprehensive guide aims to dissect each common tension problem, providing detailed insights into their causes and step-by-step solutions to fix them.
1. Changing Your Needle
Issue Detail:
A damaged or inappropriate needle can disrupt tension and balance. Needles can become blunt, bent, or damaged with use, leading to poor stitch quality. The wrong size or type for your fabric can also cause tension issues, as the needle might not properly interact with the thread and fabric.
Solution:
- Select the Correct Needle: Choose a needle that suits your fabric type and thread. For instance, a denim needle is for heavy fabrics, and a finer needle is for lightweight fabrics.
- Regular Replacement: Change your needle after every project or after about 8 hours of sewing. This ensures it remains sharp and undamaged.
- Correct Installation: Ensure the needle is correctly installed—fully up in the needle clamp and facing the right direction.
2. Double-check your thread
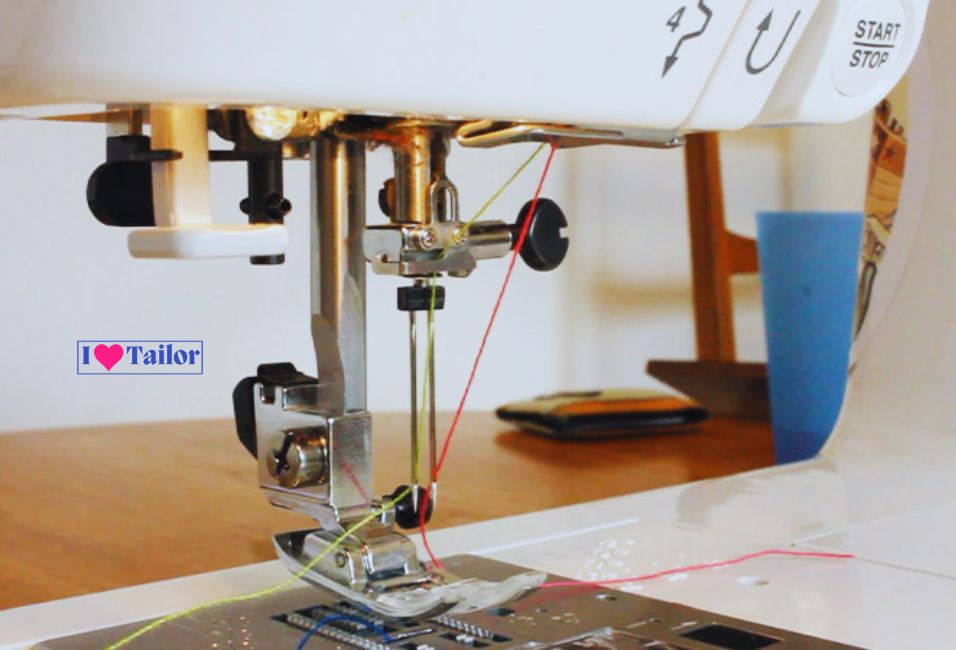
Issue Detail:
Thread quality and type are crucial. Low-quality, old, or inappropriate thread can cause breakage, uneven tension, and poor stitching. Mismatched thread types between the top and bobbin can also lead to tension imbalances.
Solution:
- Quality Thread: Always use high-quality, smooth thread.
- Consistency: Use the same type and weight of thread in both the top and bobbin.
- Thread Condition: Avoid using old, knotted, or frayed thread.
3. Matching the Top and Bobbin Thread
Issue Detail:
Using different threads in your bobbin and on the spool can cause tension discrepancies. Different threads have varying thicknesses and elasticities, affecting how they interact under tension.
Solution:
- Uniformity: Ensure the top and bobbin threads are of the same type and weight. This uniformity helps in maintaining consistent tension throughout the sewing process.
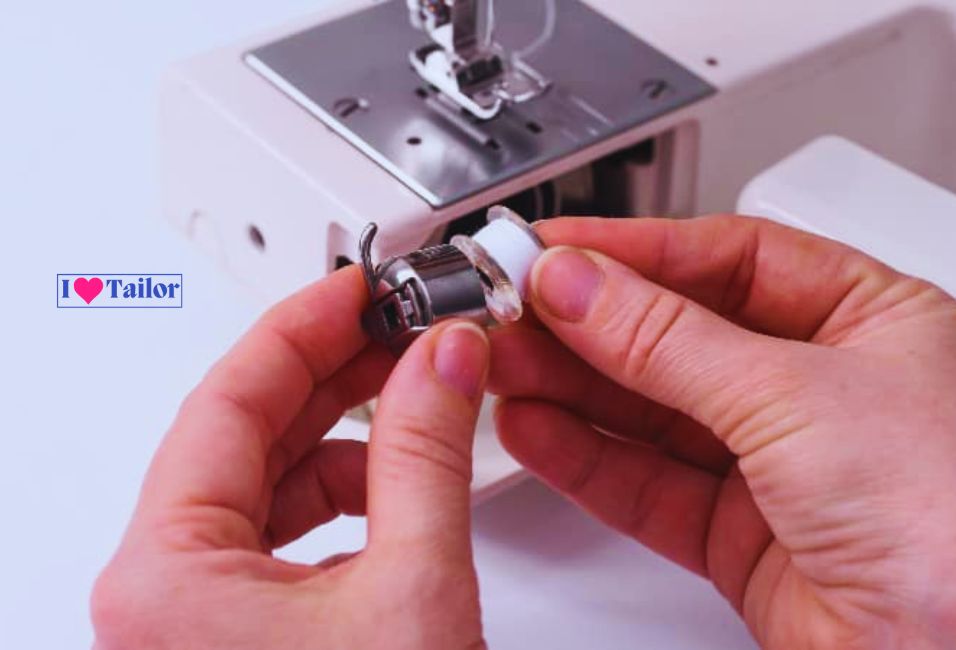
4. Cleaning your sewing machine
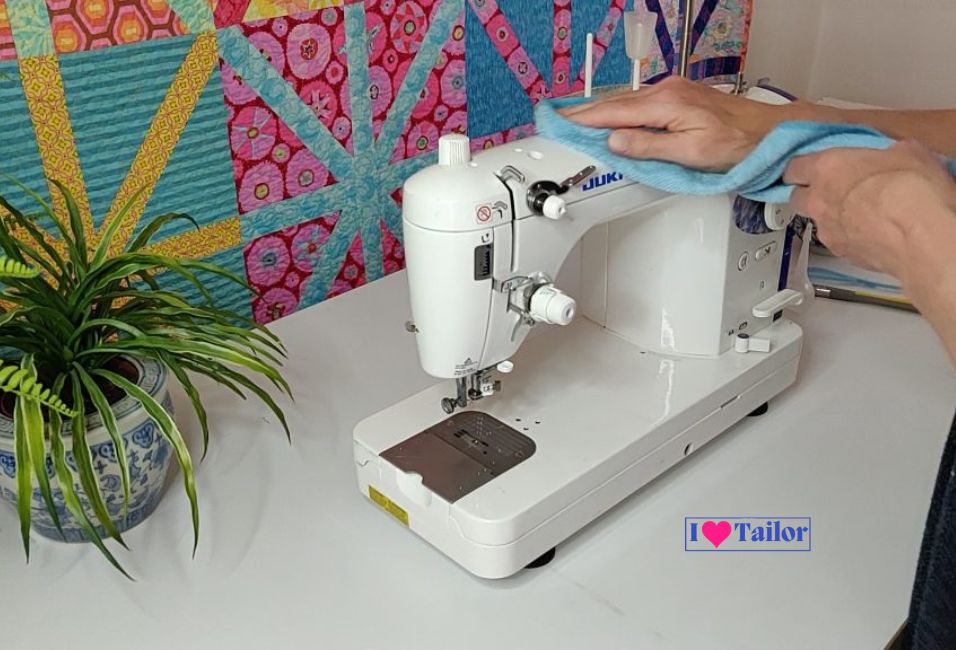
Issue Detail:
Lint, dust, and thread pieces can accumulate in your machine, particularly around the tension discs and bobbin area. This buildup can hinder the smooth flow of thread, leading to tension problems.
Solution:
- Regular Cleaning: Use a small, soft brush or compressed air to clean out the bobbin case, tension discs, and feed dogs.
- Routine Maintenance: Periodic, thorough cleaning and oiling (if your machine’s manual recommends it) can stop many tension-related problems.
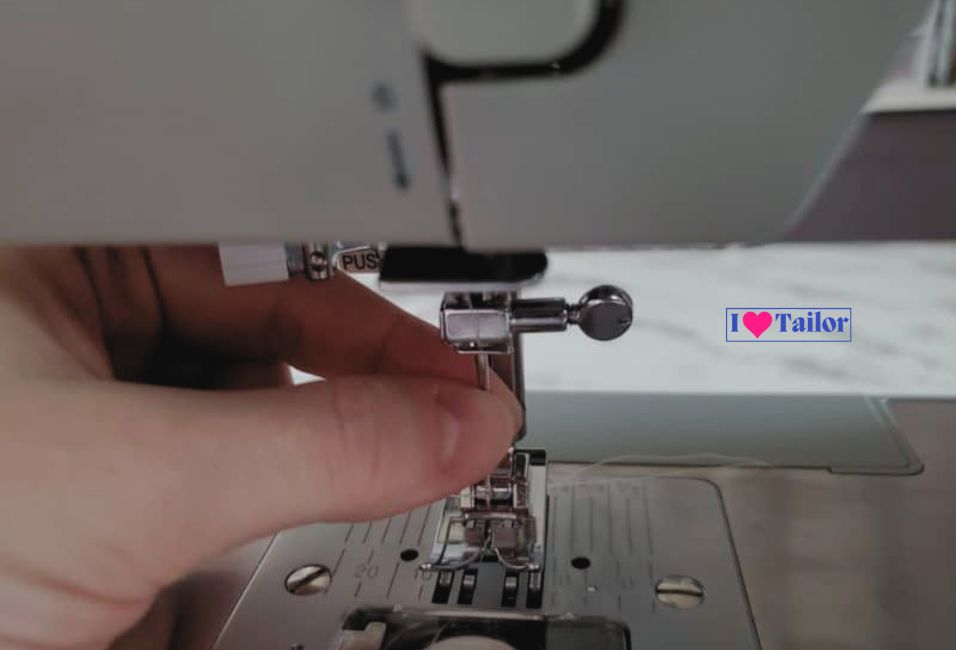
5. Issue: Upper Thread Too Loose or Bobbin Too Tight
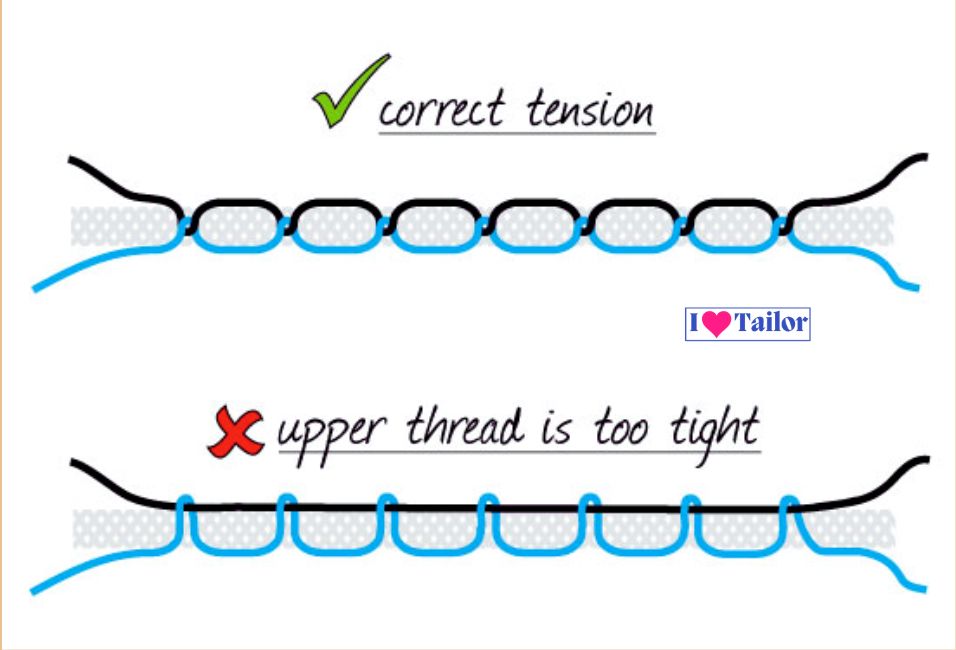
Issue Detail:
If the upper thread appears as loose loops on the underside of the fabric, it’s often too loose. Conversely, if the bobbin thread is too tight, it will restrict the upper thread, creating a visibly tight stitch.
Solution:
- Adjust Upper Thread Tension: Increase the tension by turning the dial to a higher number.
- Adjust Bobbin Tension: If the bobbin is too tight, turn the small screw on the bobbin case slightly counterclockwise.
6. Issue: Upper Thread Too Tight or Bobbin Too Loose
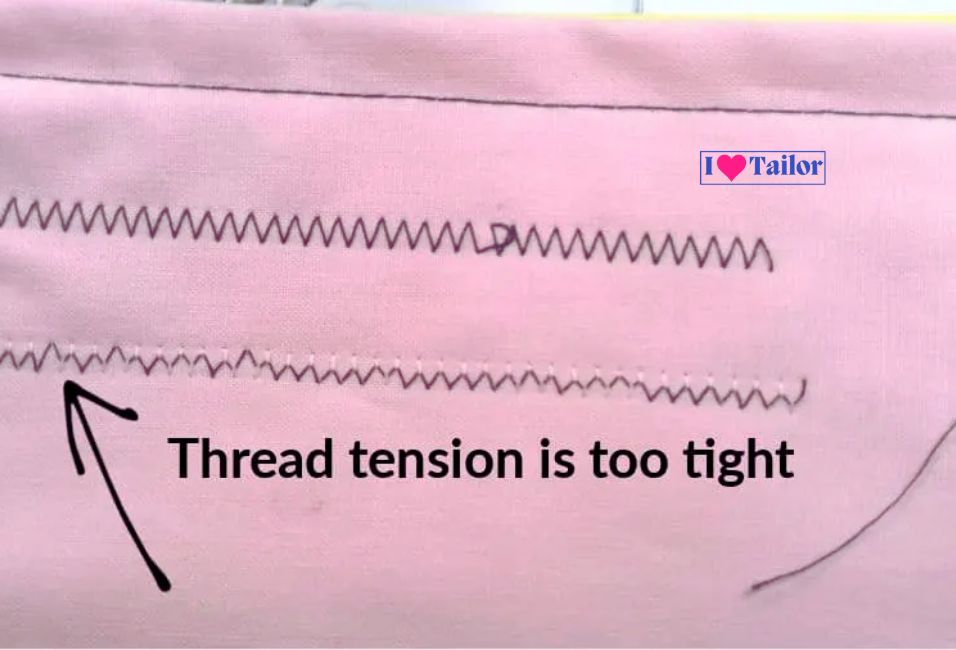
Issue Detail:
A tight upper thread pulls the bobbin thread to the top, creating puckering or tight stitches on the fabric surface. A too-loose bobbin thread causes loops on the top of the fabric.
Solution:
- Adjust Upper Thread Tension: Decrease the tension by turning the dial to a lower number.
- Adjust Bobbin Tension: Tighten the bobbin by turning the screw on the bobbin case clockwise.
Also read: What are the most dangerous sewing tools?
Seeking Professional Help for Sewing Machine Tension Problems

When you’ve tried all the basic troubleshooting steps for fixing tension issues on your sewing machine without success, it might be time to consider seeking professional help. Here’s a detailed look at why and how to go about it.
Why seek professional assistance?
- Complex Mechanical Issues: Tension problems can sometimes be a symptom of deeper mechanical issues within your sewing machine. These might include problems with the timing, internal misalignments, or worn-out parts that aren’t easily noticeable or fixable at home.
- Expert Diagnosis: Professionals have the expertise to diagnose issues that aren’t apparent to the average user. They can quickly identify whether the problem is due to tension settings or other mechanical failures.
- Proper Tools and Parts: Professional technicians have access to the right tools and replacement parts. Some sewing machine repairs require specialized tools that are not commonly available.
- Preservation of Machine Integrity: Attempting complex repairs without the proper knowledge can lead to further damage. A professional ensures that your machine is handled correctly, maintaining its integrity and longevity.
How to Find a Professional Technician
- Check with your manufacturer: Start by contacting the manufacturer of your sewing machine. Most manufacturers have authorized service centers or can recommend certified technicians.
- Local Sewing Shops: Local sewing or fabric stores often have contacts for reliable sewing machine repair services.
- Online Directories: Use online directories or forums dedicated to sewing. These can be great resources for finding reputable service providers.
- Word of mouth: Ask fellow sewing enthusiasts in your community for recommendations. Personal experiences can lead you to trustworthy technicians.
What to expect?
- Initial Assessment: The technician will typically start with an assessment of your machine to identify the problem.
- Service Estimate: You should receive an estimate of the cost and time required for the repair.
- Repair and Testing: After your approval, the technician will proceed with the repair. They will also test the machine to ensure it’s working correctly.
- Maintenance Tips: Often, technicians provide maintenance tips specific to your machine model, which can be invaluable for preventing future issues.
- Warranty on Repairs: Some repairs might come with a warranty period, offering peace of mind.
FAQs
What are the signs of tension problems in a sewing machine?
Signs include uneven stitches, where the top and bottom stitches look different, loops or puckers in the thread, and frequent thread breakage.
How do I adjust the tension on my sewing machine?
Adjust the tension by turning the tension dial. Increase tension by turning to a higher number if stitches are loose, and decrease it by turning to a lower number if stitches are too tight. Always consult your machine’s manual for specific instructions.
Can poor-quality threads cause tension problems?
Yes, poor-quality thread can lead to tension issues. It can break easily or may not flow smoothly through the tension disks, leading to uneven stitches. Always use good-quality thread for the best results.
What should I do if adjusting the tension doesn’t fix the problem?
First, ensure the machine is correctly threaded and the needle is in good condition. If problems persist, consider taking your machine to a professional for a thorough check-up, as the issue might be more complex than just tension.
Conclusion
Dealing with how to fix sewing machine tension problems can be a bit daunting at first, but with the right knowledge and a bit of patience, it’s certainly manageable. Remember, maintaining proper tension is key to achieving beautiful, professional-looking stitches. With these tips and tricks, you’re well on your way to becoming a sewing machine master!