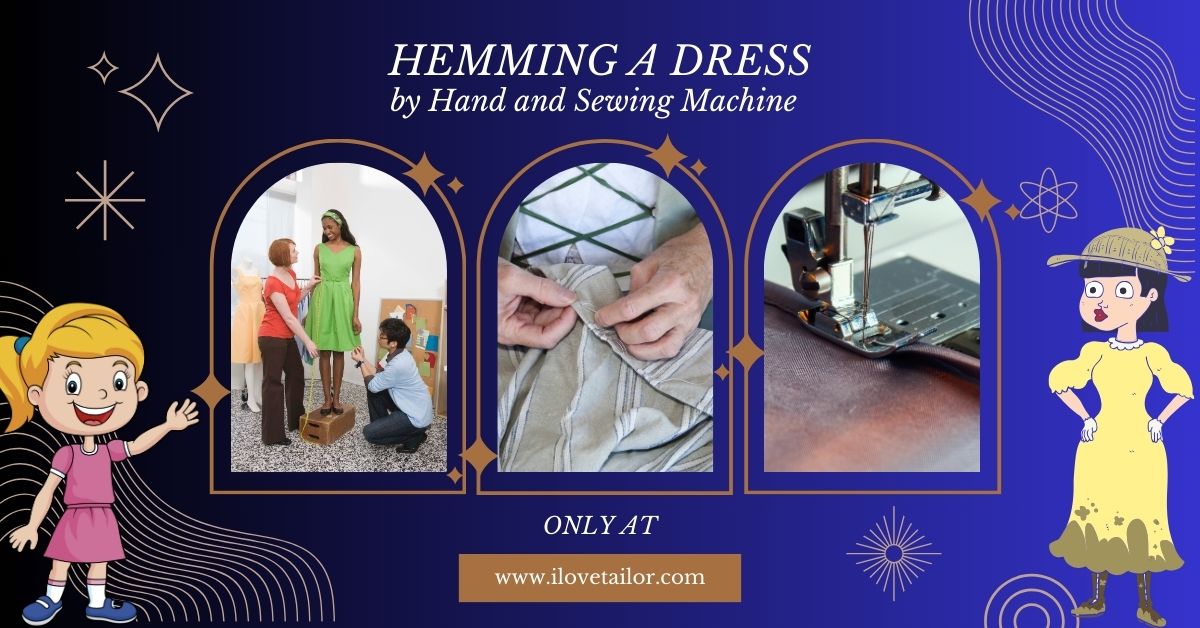
Hemming a Dress by Hand and Sewing Machine: A Step-by-Step Guide
Hemming a dress is a fundamental skill for both novice and experienced sewists. This comprehensive guide will walk you through the process of hemming a dress by hand and with a sewing machine, ensuring a professional-looking finish every time.
Step 1: Understanding Hemming
Before diving into the process, it’s essential to understand what hemming entails. Hemming is the process of folding and sewing the bottom edge of a fabric to create a clean, finished look. It’s a crucial step in dressmaking that can impact both the style and length of the garment.
Step 2: Materials Needed for Hemming
To begin, gather the following materials:
- Dress to be hemmed
- Sewing machine (optional)
- Hand sewing needle
- Matching thread
- Scissors
- Measuring tape or ruler
- Iron and ironing board
- Straight pins or fabric clips
Step 3: Measurement and Cutting
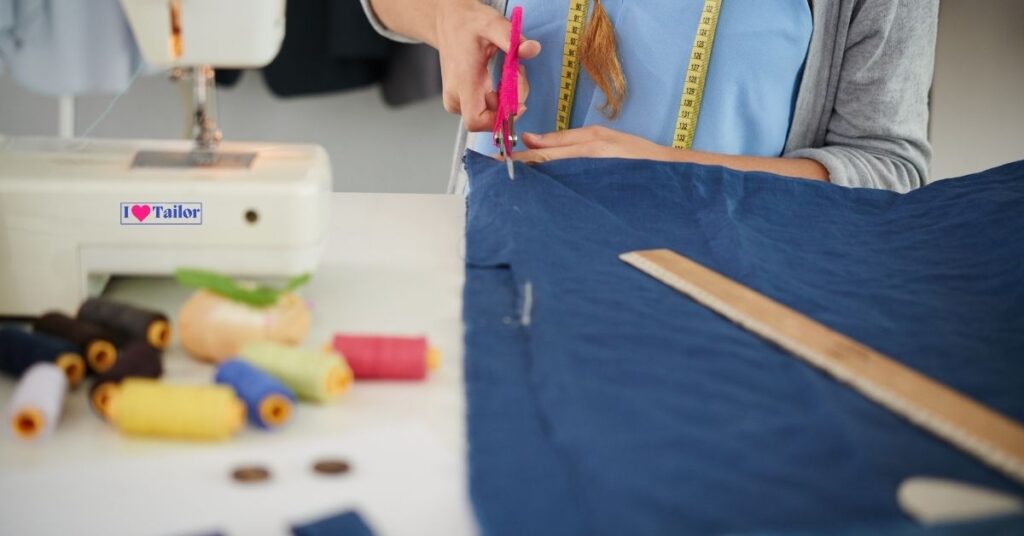
The first step in hemming a dress is to measure and cut the fabric to the desired length. This step is crucial as it sets the stage for the entire hemming process.
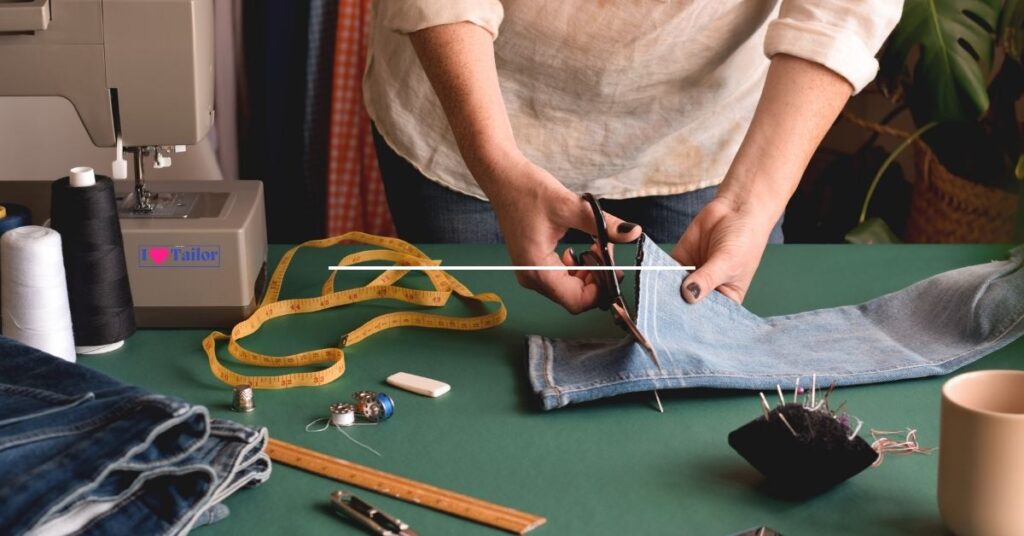
- Measure for Success: Put on the dress and decide on your ideal length. Use a measuring tape to mark the hemline evenly around the dress. It’s helpful to have someone assist you with this to ensure accuracy.
- The Cutting Edge: After marking the hemline, remove the dress and lay it flat. Measure an additional 1 to 2 inches below the marked line for the hem allowance. This extra fabric is essential for creating the hem. Then, carefully cut off the excess material, keeping your cuts clean and straight.
Step 4: Press the Hem Dress
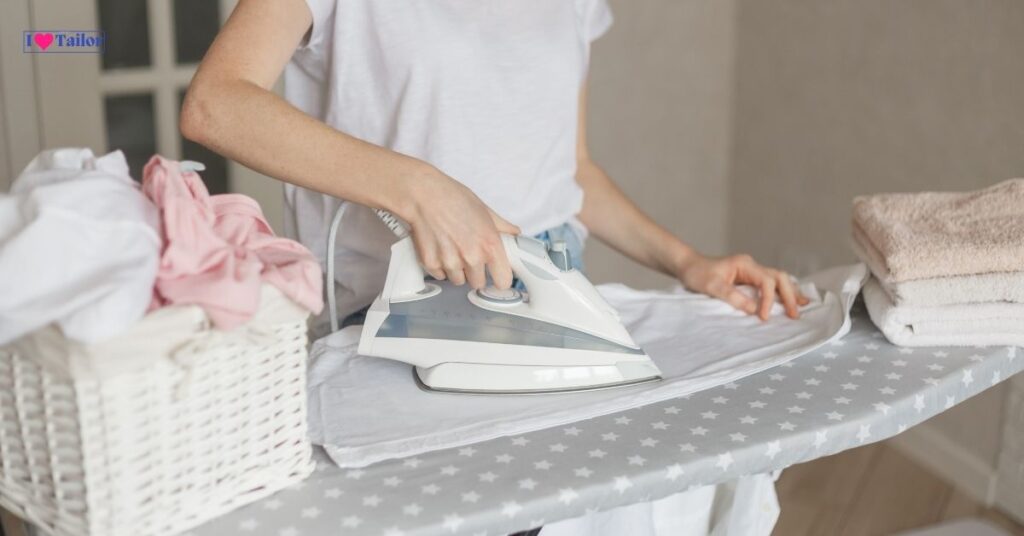
Pressing the hem is a step that should not be overlooked. It helps in creating a polished, professional finish.
- Fold and Iron: Fold the fabric edge over 2 inches (5.1 cm) and tuck the raw edge. Bring up the fabric’s raw edge so the bottom matches the hemline you marked. Use an iron to press this fold flat. This action creates a sharp, defined edge that will guide your sewing.
- Double Fold for Durability: For a neat and durable hem, fold the edge again, enclosing the raw edge within the fold. Press this second fold with your iron. Press this fold to cover the raw edge, and tuck the top 1/4 inch (0.64 cm) of the folded fabric under. This technique not only adds to the dress’s aesthetic but also ensures the longevity of the hem.
Step 5: Pinning the Hem
Pinning the hem is essential for keeping your fabric in place and ensuring an even hemline when you start sewing.
- Pin with Precision: After pressing the hem, use straight pins to secure it in place. Insert the pins horizontally along the hemline, ensuring they are evenly spaced. This will hold the fabric steady as you sew and prevent any shifting or bunching.
- Final Check: Before you start sewing, do a final check to ensure that the hem is even all around. Adjust any pins as needed to achieve a consistent hemline.
Step 6: Hemming a Dress by Hand
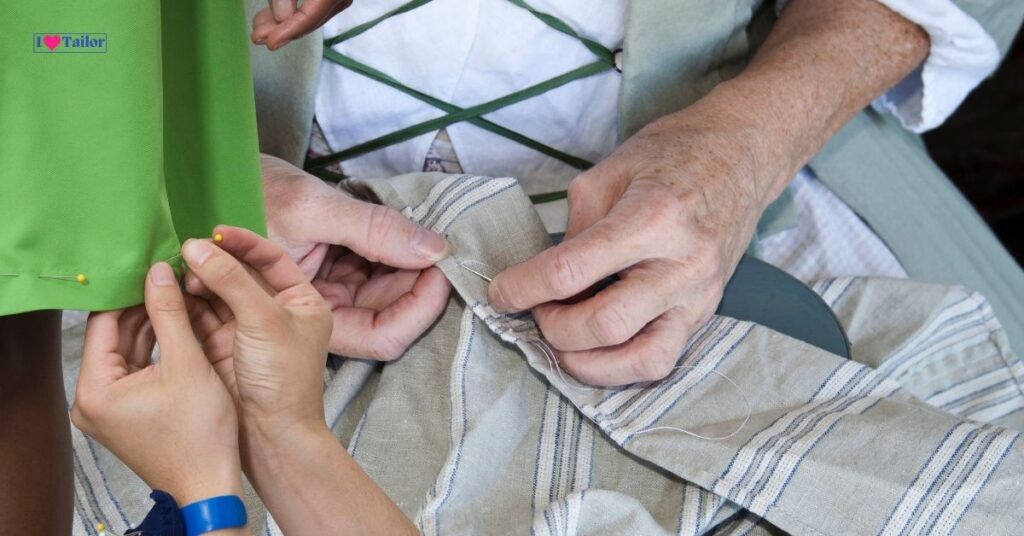
It may seem like a job for expert tailors, but hand-hemming a garment is easy and satisfying. Learn how to hand-hem a dress to save time and money, whether you’re fixing an old favorite or buying a new one that’s too long. The methods to hand-hem a garment for a precise, professional finish are below. (How to sew a dress by hand for beginners?)
The Hand Stitching Process
- Thread Your Needle: To thread your needle, first cut a piece of thread—not too long, however, so it won’t tangle. Secure the thread end by tying a knot.
- Start Stitching: Begin from the inside of the hem to hide the knot. You’ll want to use small, discreet stitches. The ‘blind stitch’ is perfect for this, as it’s almost invisible from the outside of the dress.
- Be Consistent: Keep your stitches even and small. The key to a professional-looking hem is consistency in your stitch size and spacing.
- Last Look: Once you’ve stitched all around the hem, tie off your thread securely and cut off any excess.
Quick Tips for a Perfect Hem by Hand
- Always try the dress on before you start; it’s the best way to get accurate length.
- If you’re working with a slippery or delicate fabric, consider using a hemming tape for added stability.
- Patience is key – take your time with each step for a smooth, even hem.
Step 7: Hemming a Dress with Your Sewing Machine
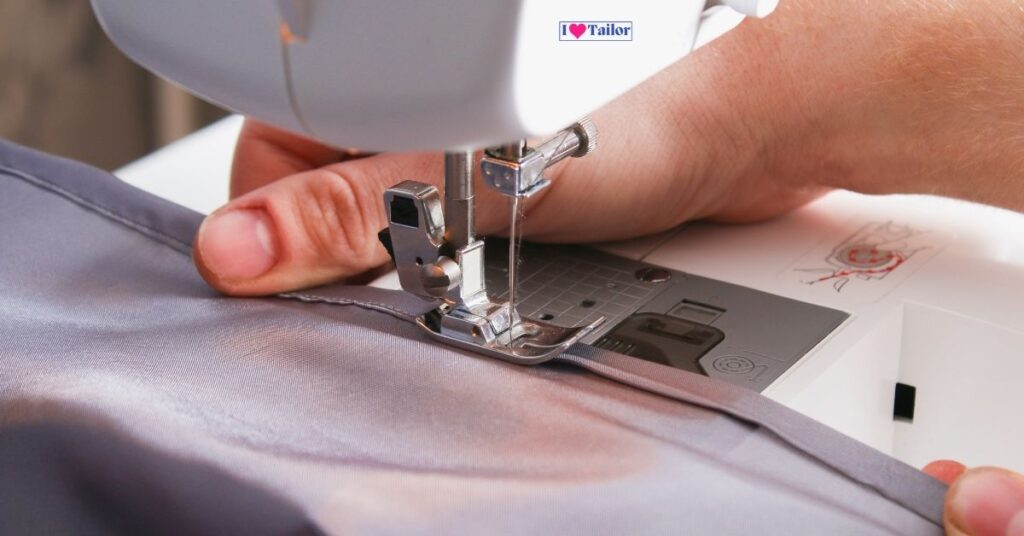
Hemming a dress using a sewing machine can transform an ill-fitting garment into a custom-fit masterpiece. It’s a skill that’s both practical and satisfying, perfect for anyone who loves to give their clothes a personal touch. This guide will walk you through the simple steps to hem a dress with a sewing machine, even if you’re new to sewing.
Sewing the Hem with Your Sewing Machine
- Thread Your Machine: Set up your sewing machine with a thread color that closely matches your dress.
- Choose the Right Stitch: A straight stitch is usually best for hemming. If you’re working with stretchy fabric, a small zigzag stitch can give more flexibility.
- Start Sewing: Remove the pins as you go, and sew close to the folded edge. Keep the fabric taut but not stretched, and guide it evenly through the machine.
- Blind Hem Foot: Attach the Edge stitching or Blind Hem Foot to your machine. Use your sewing machine’s blind hem stitch setting as instructed in the guide. Place fabric beneath the presser foot. Grab the flywheel and turn it toward you until the needle swings left. Straight-stitch hem.
- Be Consistent: Try to maintain a consistent distance from the edge. This is key for a professional-looking hem.
- Inspect Your Work: Once you’ve sewn all around, cut the threads and inspect the hem. Look for any puckers or uneven stitching.
Top Tips for a Perfect Machine Hem
- Test your stitch on a scrap piece of fabric first, especially if you’re working with a unique or delicate material.
- If your dress is very full or has a curved hem, consider sewing a few gathering stitches first to ease the fabric.
- Don’t rush. Taking your time will yield better results.
The Final Step 8: Finishing Touches

- Once the hemming is complete, press the hem again with an iron for a crisp finish.
- Inspect the hem for any loose threads or unevenness and make necessary adjustments.
Tips for a Perfect Hem
- Always test the stitch on a scrap piece of fabric before beginning.
- For curved hems, consider using a narrow hem foot for a sewing machine.
- Hand sewing is recommended for heavier fabrics to prevent puckering.
FAQs
What is the best stitch for hemming a dress?
The best stitch for hemming a dress is often the blind hem stitch, providing a nearly invisible finish. This stitch is ideal for a clean, professional look, especially on formal and everyday wear. It combines durability with aesthetic appeal, making it a popular choice.
What type of stitch is hemming?
Hemming is typically done using straight, slip, or blind stitches, depending on the desired finish. These stitches secure the fabric’s edge, creating a neat and durable hem on garments. Hemming stitches vary in visibility and are chosen based on the fabric and garment style.
What is a slip stitch used for in hemming?
In hemming, a slip stitch is used to create an invisible seam, connecting the fabric layers without visible stitches on the outside. This hand-sewing technique is perfect for discreetly securing hems on formal or delicate garments. It’s valued for its neat and professional finish.
What is a blind hem?
A blind hem is a sewing technique used to create an almost invisible hemline on garments. This method involves folding and stitching the fabric in a way that minimizes the appearance of stitches on the outside. It’s ideal for achieving a clean, professional finish on skirts, pants, and dresses.
What is a Zigzag hem?
A zigzag hem is a sewing technique where the hem is finished with a zigzag stitch pattern. This method adds elasticity and prevents fraying, making it ideal for stretchy or knit fabrics. It’s a practical and decorative way to secure fabric edges.
Conclusion
Mastering the art of hemming a Dress, whether by manual stitching or with a sewing machine, is a crucial skill that may result in significant time and cost savings. By using appropriate equipment and employing effective procedures, you may get a polished hem that elevates the overall aesthetic of your garment.
Thanks!