How to fix a Snap button without a tool?
Button and snap closures are essential in the fashion industry. They hold items in place and enhance our appearance, from trousers to jackets. What transpires, though, if one of them fails? We’ll examine, “How to fix a Snap button without a tool?” in this extensive manual. Let’s start now!
The Importance of Snap Buttons
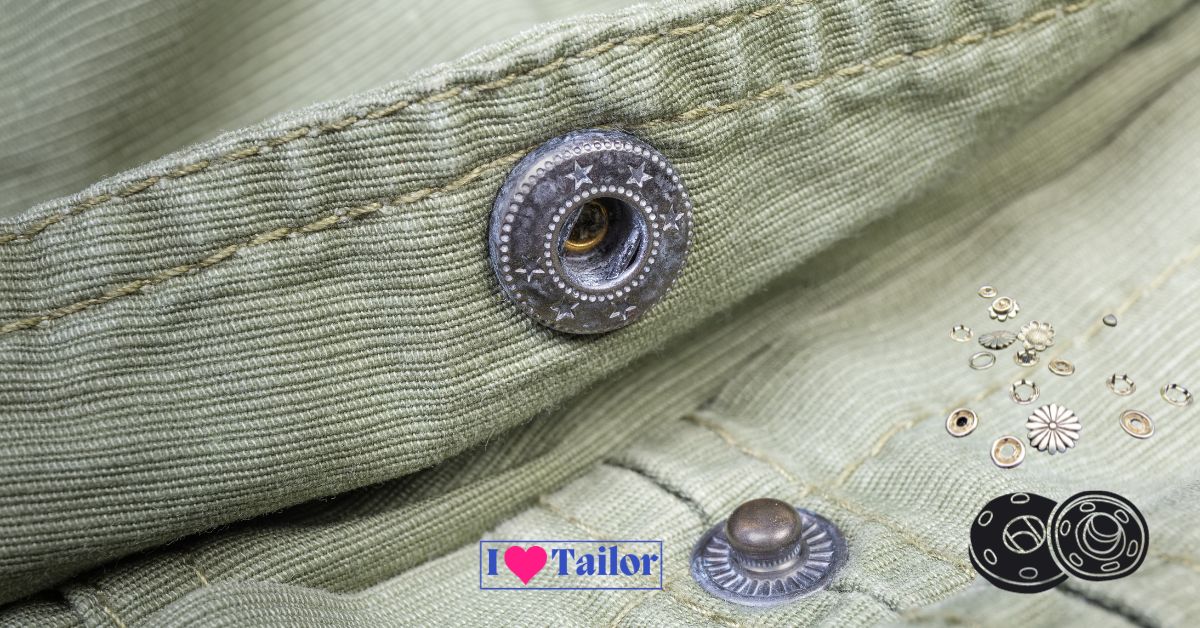
Snap buttons, commonly found on clothes, wallets, and bags, play a vital role in our daily lives. They are designed to close or secure something quickly and conveniently. Like everything else, they are not invincible and may occasionally fall off or break. Luckily, you can fix a snap button without resorting to professional help or specialized tools.
Related: How to tighten a loose Shirt without Sewing?
Understanding Snap Button Components
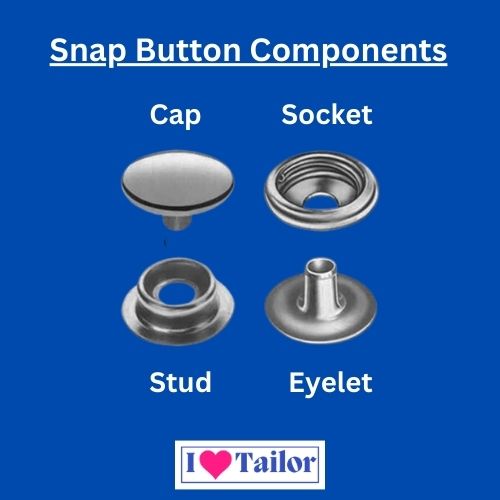
Before we get into the process, it’s crucial to understand the basic components of a snap button. A snap button typically consists of four parts:
- Cap (The visible part of the snap when closed)
- Socket (The part that the cap snaps into)
- Stud (The part that snaps into the socket)
- Post (The part that backs the stud)
Understanding these components will help you navigate the repair process more effectively.
Steps to Fix a Snap Button Without a Tool
Here are the steps to fix a snap button with everyday household items:
1. Gather Necessary Materials
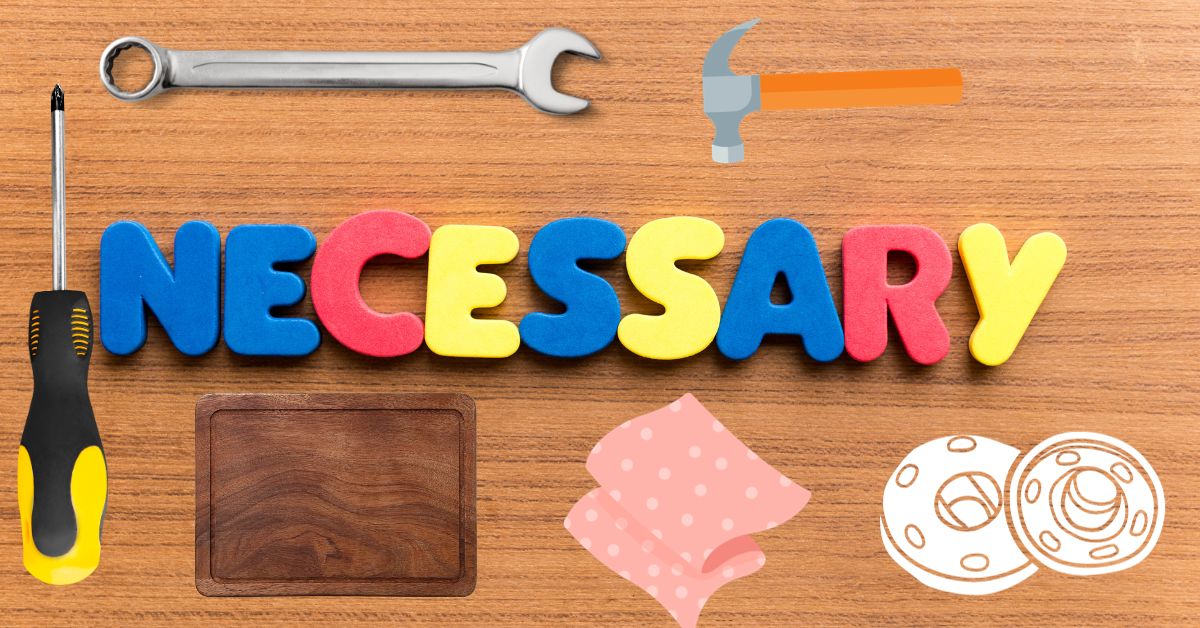
You will need:
- A replacement snap button
- A sturdy, thin piece of cloth or fabric
- A hammer
- A flat surface, such as a wooden board
2. Removing The Damaged Snap Button
Carefully remove the damaged snap from your item. If it’s sewn on, you can use a pair of scissors to cut the threads. If it’s riveted, gently pry it off with a flat-head screwdriver.
3. Positioning The Replacement Snap Button
Place the cap of the new snap button on the flat surface with the protruding side facing up. Then, place the fabric with the hole over the cap.
4. Inserting The Socket
Next, place the socket over the cap’s protrusion, making sure it aligns with the hole in your fabric.
5. Affixing The Socket
Cover the socket with your piece of cloth or fabric to protect it from damage. Then, using the hammer, gently tap the cloth-covered socket until it’s firmly affixed to the cap underneath the fabric.
6. Attaching The Stud
Flip the fabric over, position the post over the hole on the fabric’s other side, then place the stud on the post.
7. Securing The Stud
Cover the stud with your cloth, then gently hammer until the stud and post are firmly attached to the fabric.
8. Testing The Button
Try snapping and unsnapping the button to ensure it works correctly.
Tips For Fixing A Snap Button Without A Tool

Here are some tips to make the process easier:
- Always be gentle when removing a broken snap to avoid damaging your material.
- Use a piece of cloth to protect the snap parts when hammering.
- Align the components correctly before hammering to ensure a secure fit.
Preventive Measures: How To Maintain Snap Buttons
Maintenance is better than repair. Here are some ways to prevent your snap buttons from breaking:
- Handle with care: Snap buttons aren’t designed to withstand rough handling. Always snap and unsnap gently.
- Regular inspections: Check your snaps frequently for signs of wear or damage.
- Proper cleaning: Follow the manufacturer’s cleaning instructions to avoid damage from harsh detergents or cleaning methods.
FAQs:
How do you put snaps on without tools?
To attach snaps without tools, place the snap components on a flat surface and align them with the fabric’s hole. Protect the snap with a cloth and gently hammer until they are firmly affixed. Test the snap function to ensure it’s securely attached.
How do you fix a broken snap button?
To fix a broken snap button, remove the damaged snap carefully and replace it with a new one. Use a cloth and hammer to gently affix the new snap components into the fabric. Ensure they’re securely attached by testing the snap function.
What if the fabric is damaged where the snap button fell off?
If the fabric is damaged, you might need to sew a small patch over the area before installing a new snap button.
Conclusion
It may seem difficult to fix a snap button without a tool, but with a little knowledge and creativity, it is perfectly feasible. You’ll be prepared to tackle any snap button issue that arises if you comprehend how a snap button is made up of its component parts and adhere to the instructions provided in this tutorial.
Although the methods described here are intended for short solutions, buying a snap repair tool may be worthwhile in the long run. But at least you now know how to repair a snap button without a tool!
Thanks!