How to change the needle on the sewing machine? (Singer, Brother, or Jucki)
Changing the needle on your sewing machine, whether it’s a Singer, Brother, or Jucki model, is crucial for maintaining optimal performance. With this comprehensive guide, “How to change the needle on the sewing machine?” We empower you with the knowledge and confidence to replace your sewing machine needle like a professional.
Safety Measures
Before starting the needle replacement process, make sure to turn off your (Singer, Brother, or Jucki) sewing machine. This is a critical safety step to prevent any accidental injuries.
Related: “How to sew without a Needle?” We’ll explore ten inventive ways you can continue to create without ever needing to thread a needle.
Step-by-Step Guide to Changing Your Needle
Here’s a simple guide to help you successfully change the needle on your (Singer, Brother, or Jucki) sewing machine:
1. Turn off the machine
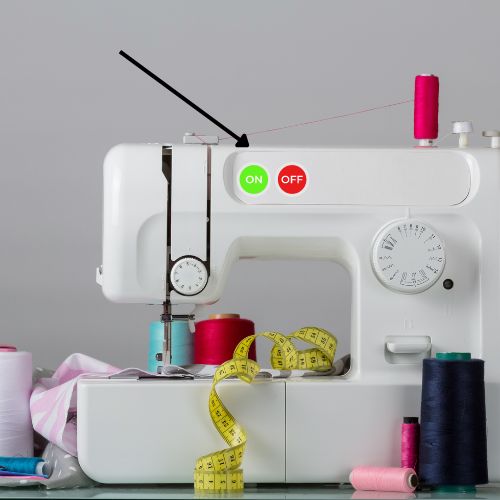
Before changing the needle, make sure to turn off the sewing machine or unplug it to avoid accidental injury.
2. Lower the Presser Foot

To provide you with enough room for the needle change, the presser foot should be in the down position.
3. Loosen the Needle Clamp Screw:
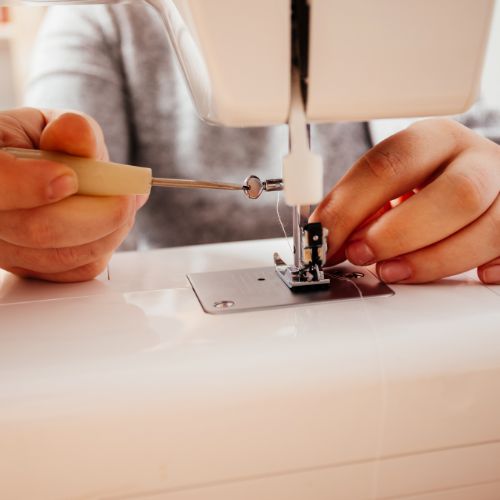
The needle clamp screw needs to be turned counterclockwise using the screwdriver that came with your sewing machine. This will make the needle looser.
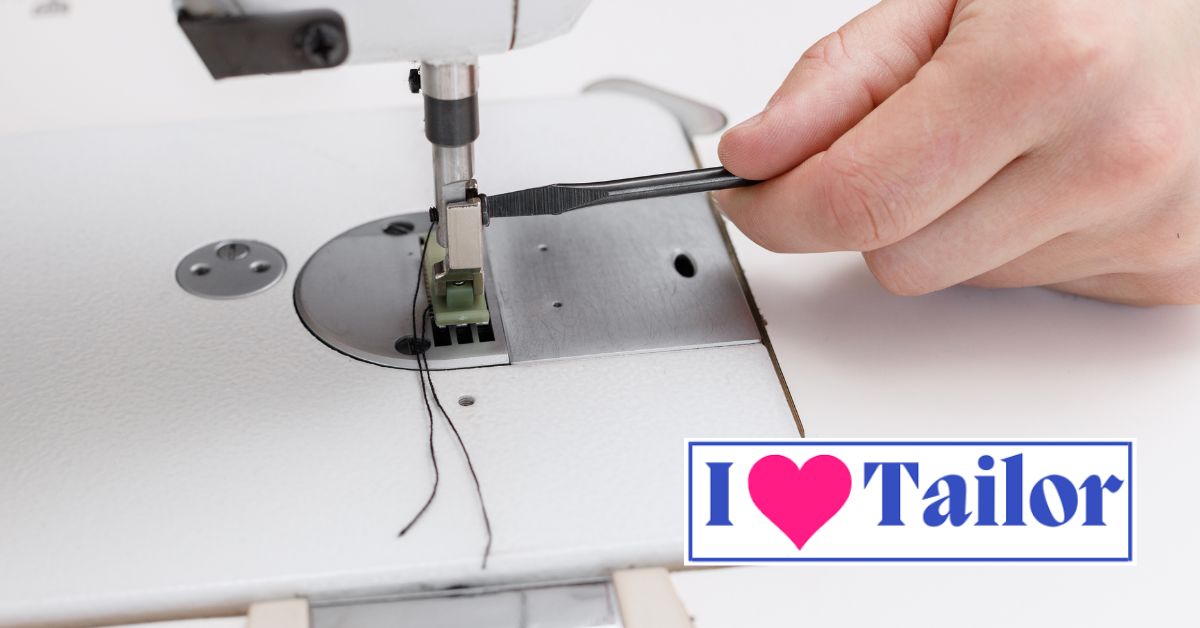
4. Remove the Old Needle
The old needle can now be safely removed from the clamp by being pulled down after the screw has been released.
5. Insert the New Needle
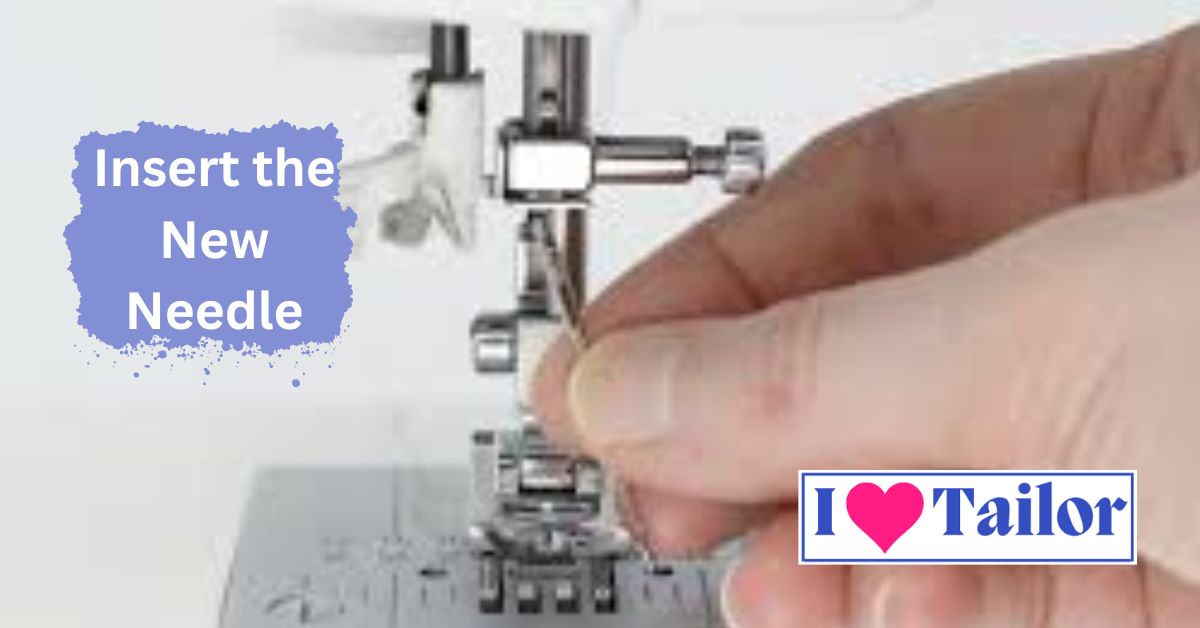
The fresh needle should now be inserted. The flat side of the needle must be towards the machine’s rear when using a Singer sewing machine. As high as it will go, wiggle the needle up into the clamp.
6. Tighten the Needle Clamp Screw
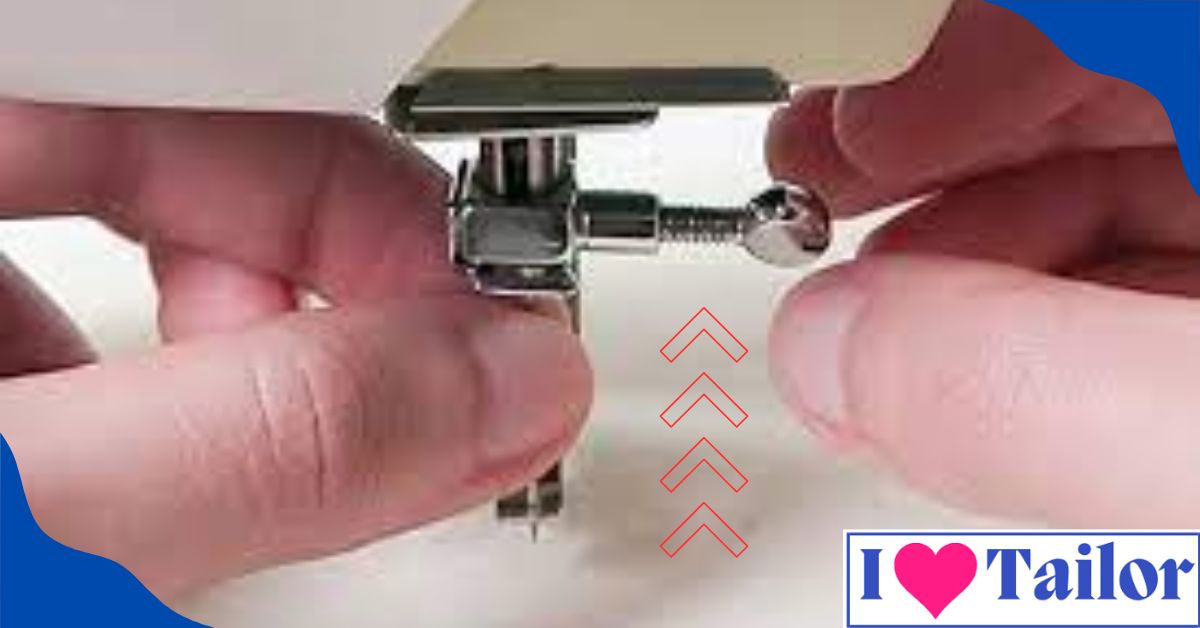
After putting in the replacement needle, tighten it by rotating the needle clamp screw in a clockwise direction. Make sure the needle is securely positioned.
7. Check the needle position
Lower the presser foot and manually rotate the handwheel to ensure the needle clears the presser foot and other machine components. This step helps you confirm that the needle is installed correctly and won’t hit any parts during sewing.
8. Test stitch
Before starting your actual project, perform a test stitch on a scrap piece of fabric to ensure the new needle is working properly. Check for any skipped stitches, strange noises, or issues that may indicate a problem with the needle installation.
How do we know if a machine needle is damaged?
A damaged machine needle sends out distress signals that you can pick up on if you’re attentive. Here are some of the red flags to look out for:
- Unusual noise from the machine: If your normally quiet sewing machine suddenly starts making a knocking or clicking noise, it could be due to a bent or damaged needle.
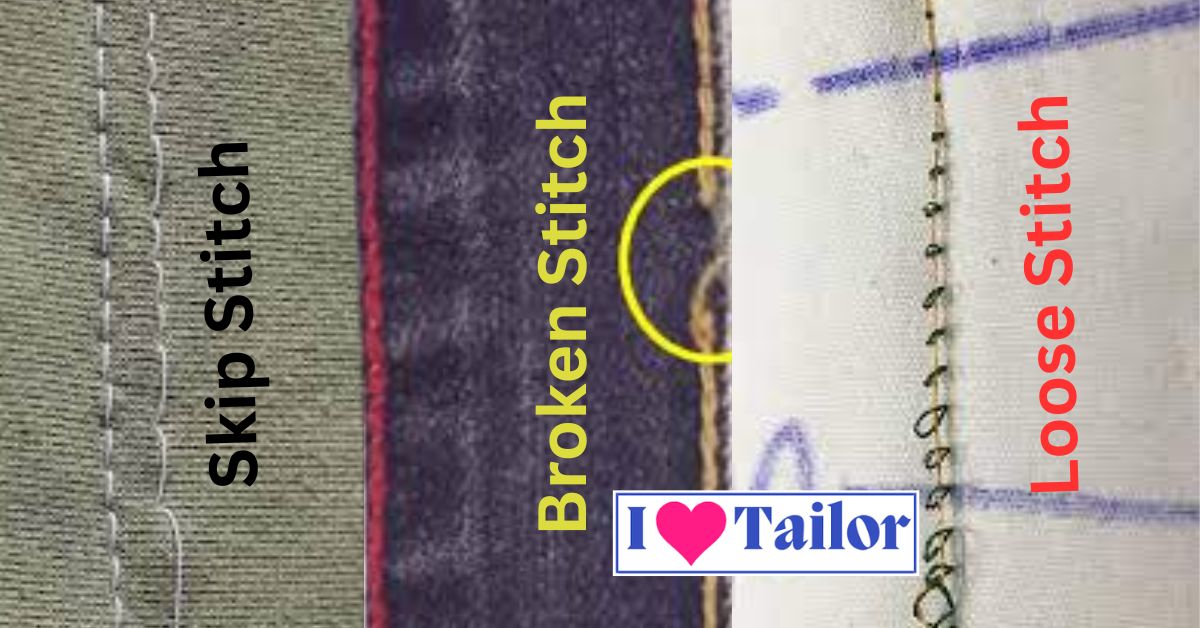
- Skipping stitches: This is one of the most common symptoms of a damaged needle. If your machine is skipping stitches, it’s time to inspect the needle.
- Broken threads: If your thread keeps breaking mid-stitching, it may not be a thread quality issue. The culprit could be a damaged needle with a sharp point or a burr that cuts the thread.
Would you ignore a flashing check engine light in your car? Probably not! So why ignore these signs from your sewing machine?
Why Regular Checking of Your Needle is Essential
Routine maintenance is key to the longevity of any machinery. It’s like going to a regular medical check-up; we do it not because we are sick but to ensure we are still healthy and catch any potential problems early. A quick check-up of your machine needle after each project can prevent potential problems down the line, saving you time, money, and a lot of frustration.
How to Check for Needle Damage
You might wonder, “How exactly do I check my machine needle for damage?” Fear not! Here are some easy and effective ways to do just that:
- Physical Inspection: Remove the needle from the machine and observe it closely. Look for any signs of bending, dullness, or burred edges. A magnifying glass could come in handy here.
- The Nickel Test: Place your needle on a flat surface and roll a nickel (or any other coin) towards it. If the needle rolls straight, it’s good. If it wobbles or veers off, it’s probably bent and needs replacement.
- Listening to Your Machine: As mentioned earlier, a noisy machine could be crying out for a needle change. Pay close attention to any unusual noises when the machine is in operation.
The Best Time to Replace Your Machine Needle
Now that we know how to check for needle damage, when should we replace it? Your machine’s use determines the answer. Change the needle after every project if you use it as much. However, if you just use it sometimes, replacing the needle every 8-10 hours should be plenty.
Replacing your machine needle regularly ensures a smooth, joyful sewing experience, much like changing your car’s oil.
Selecting the Right Needle for Your Project
It’s crucial to select the right needle for your specific sewing project.
- Universal Needles are all-purpose needles that work well with most woven fabrics and some knits.
- Ballpoint Needles are perfect for knitting and stretching fabrics as they slide between the fabric fibers, preventing any damage.
- Sharp Needles are designed for silks, microfiber, and other delicate materials.
- Leather Needles have a wedge-shaped point that can penetrate leather and faux leather easily.
- Jeans Needles are made for denim and other heavy, tightly woven fabrics, helping to prevent skipped stitches.
FAQs:
How do you change the needle in Singer?
To change the needle in a Singer sewing machine, follow these steps: 1. Turn off the machine and raise the needle to its highest position. 2. Loosen the needle clamp screw with a screwdriver and remove the old needle. 3. Insert the new needle with the flat side facing the back, push it up as far as it will go, and tighten the needle clamp screw securely. Always refer to the specific model’s manual for detailed instructions.
How do you insert a new needle?
Sewing machine needle replacement: 1. Lift the needle. 2. Loosen the needle clamp screw or holder to remove the old needle. 3. Insert the new needle, flat side facing back, push it up as far as it will go, and secure it by tightening the needle clamp screw or activating the needle holder. Use your sewing machine’s manual.
What is needle position?
Needle position refers to the vertical placement of the sewing machine needle relative to the fabric. It can be adjusted to control stitch formation, such as selecting between top, center, or bottom needle positions. This setting is crucial for precise stitching and accommodating different fabric thicknesses.
Conclusion
With this detailed guide, changing the needle on your (Singer, Brother, or Jucki) sewing machine should be an easy, hassle-free process. Regularly changing your needle will ensure you get the best performance from your machine and the highest quality in your sewing projects.
Thanks!